

Customizing your new DogHouse System
Your new Doghouse System has arrived, now what? After unboxing your new gaming beast, you may want to start gaming right away by playing one of the games you requested to have preinstalled. If that sounds like you, then game on!
If you’re anything like me then you’ll probably want to install other apps and customize your system perfectly to your liking. In this guide we’ll look over installing apps and customizing your Windows experience.
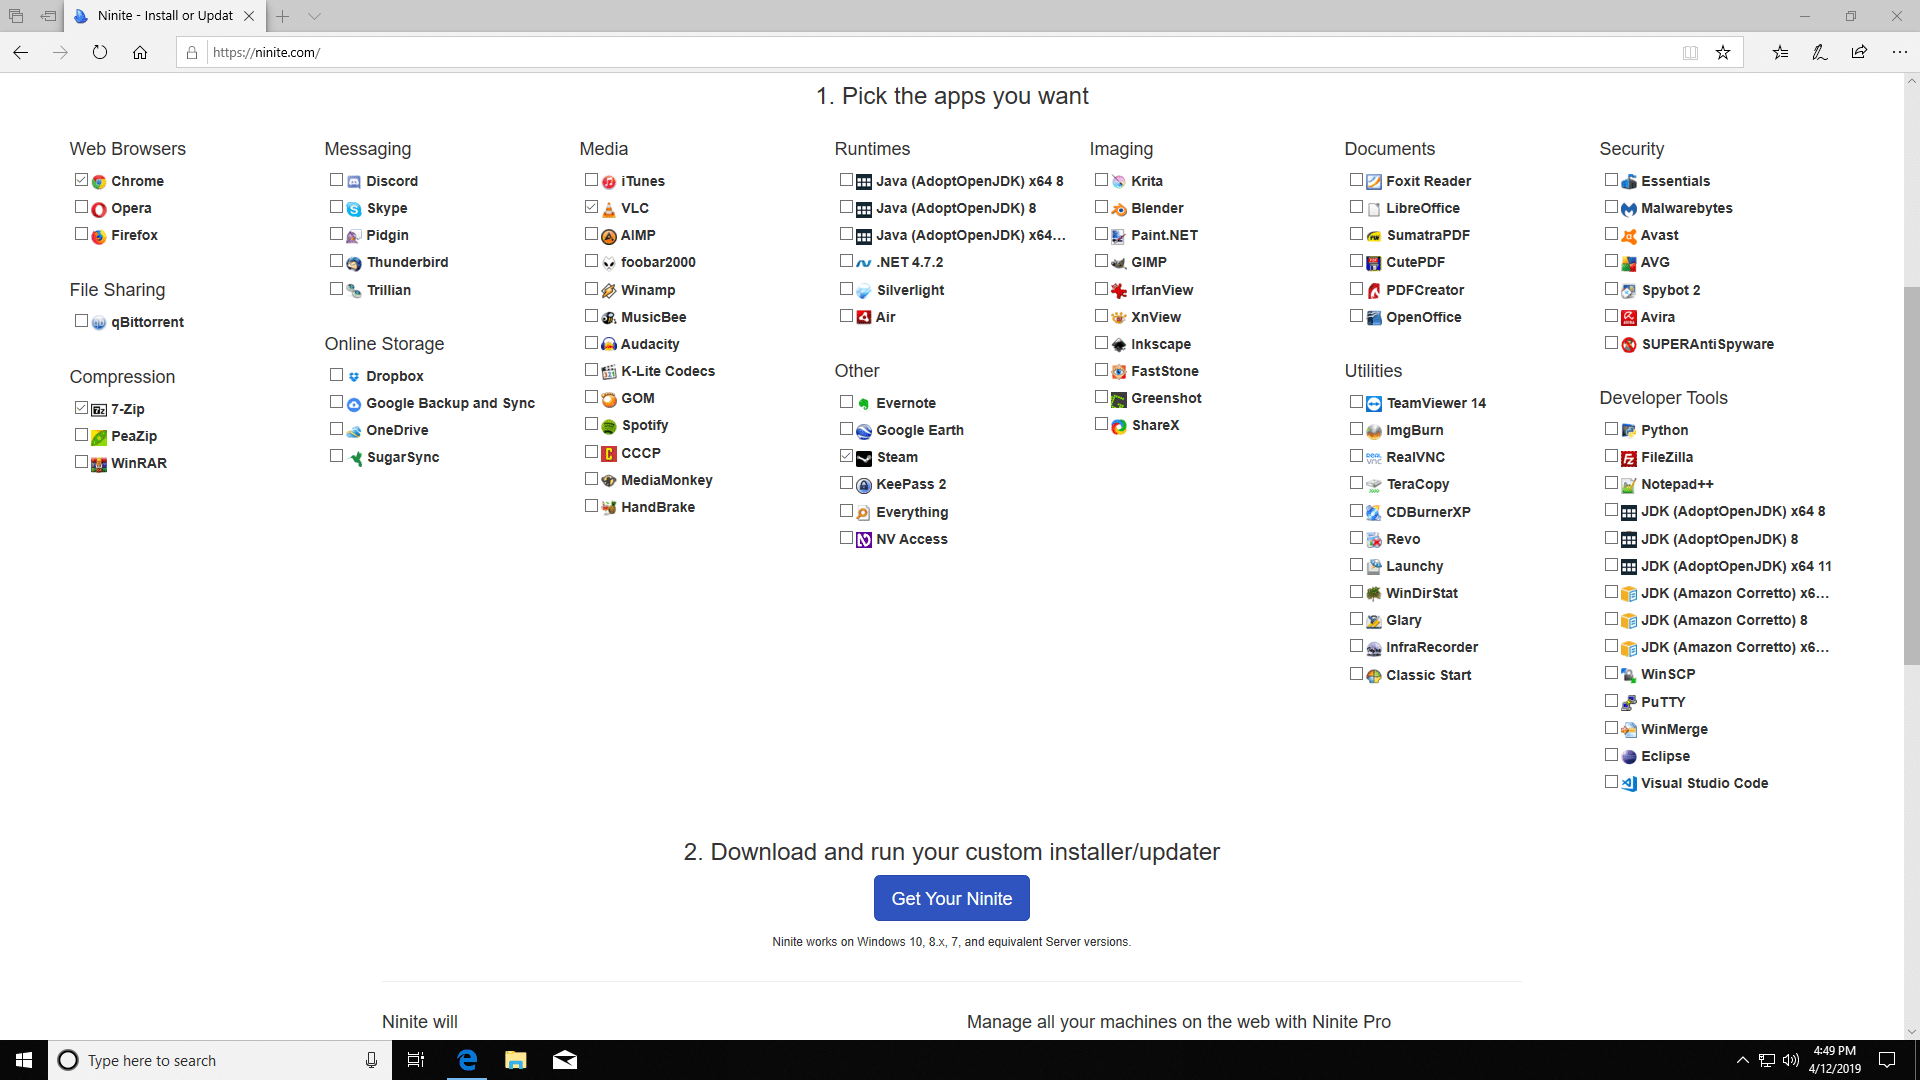
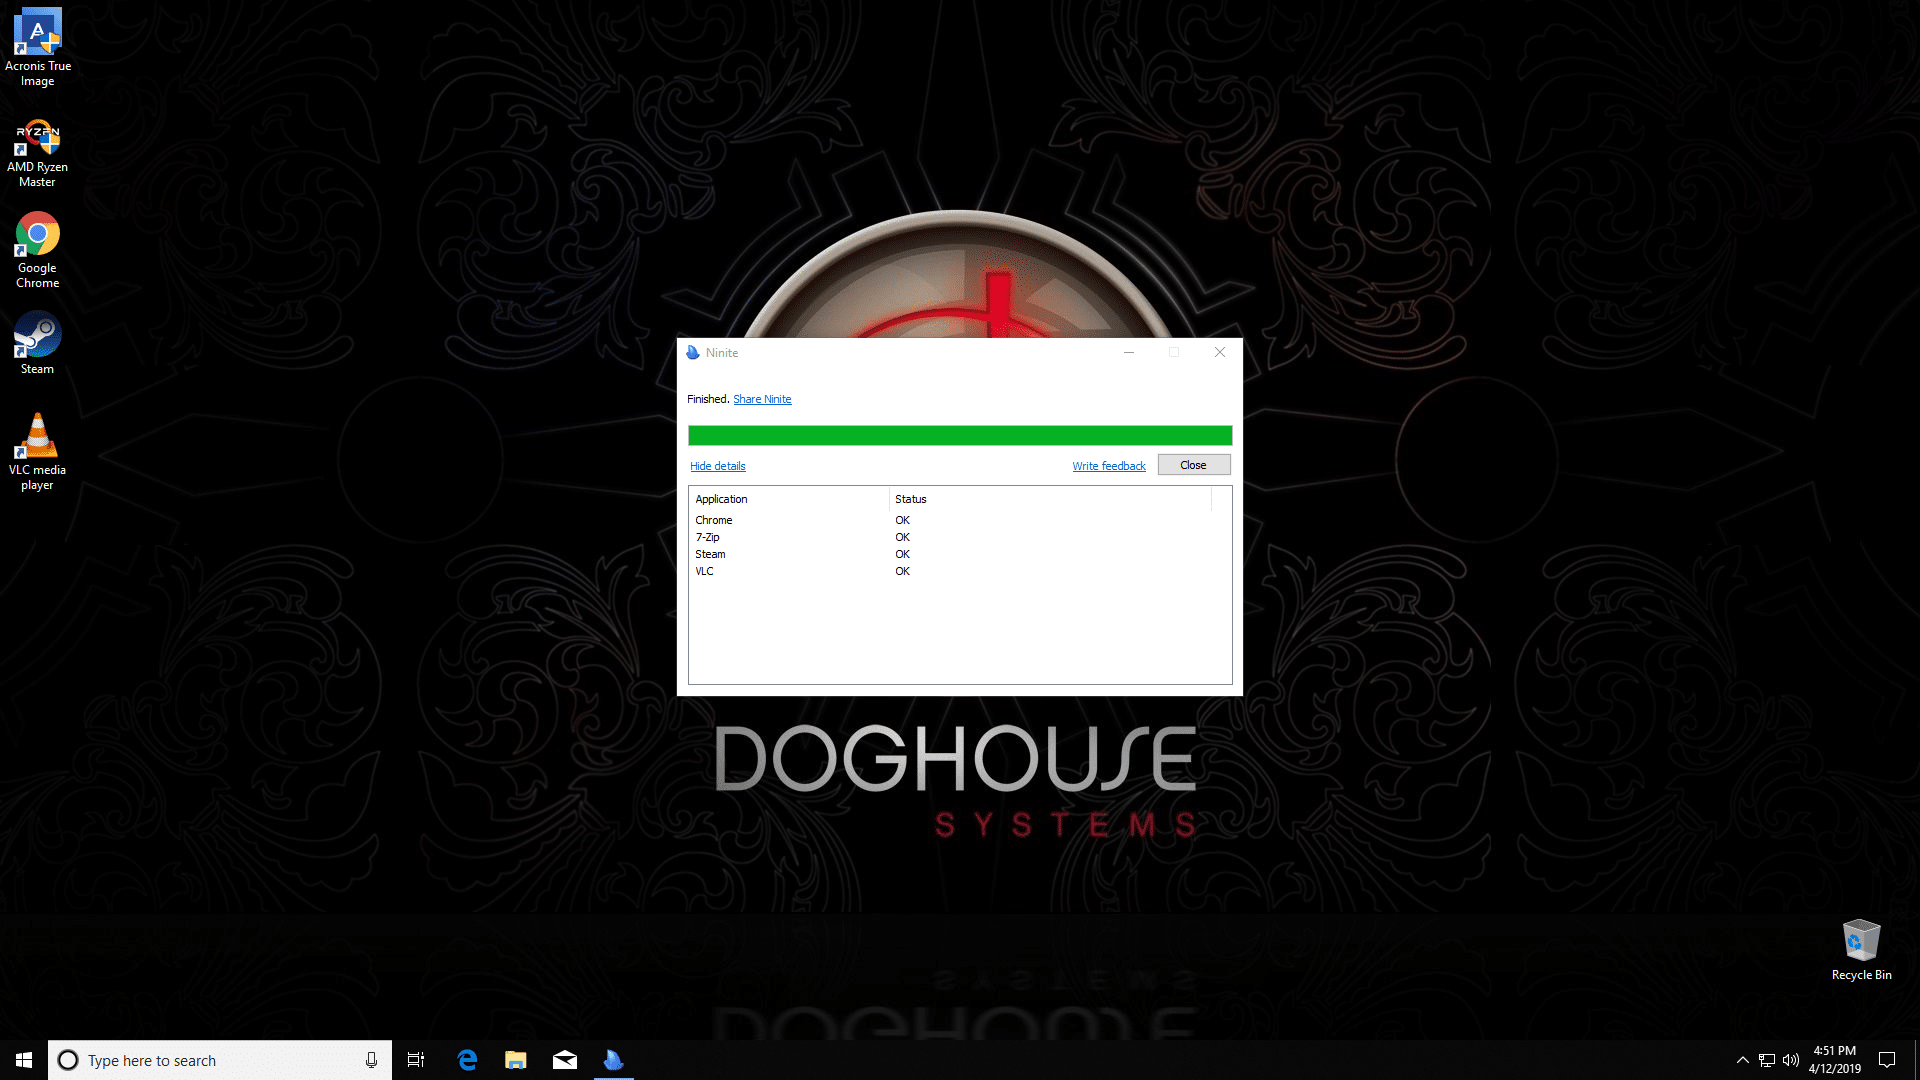
If you need to install more than a few apps all at once, head over to Ninite.com. Ninite makes installing the most common apps a breeze. Like the site says, just pick the apps you want and download your custom installer by clicking the Get Your Ninite button. Once the file downloads simply run the installer once and each app you selected will be installed in the background, optional “free extras” will be skipped, and you’ll see a handy progress bar for each download and installation. Updating each app is just as easy, just re-run the Ninite installer.
Now that your favorite apps are installed let’s start working on customizing Windows 10.
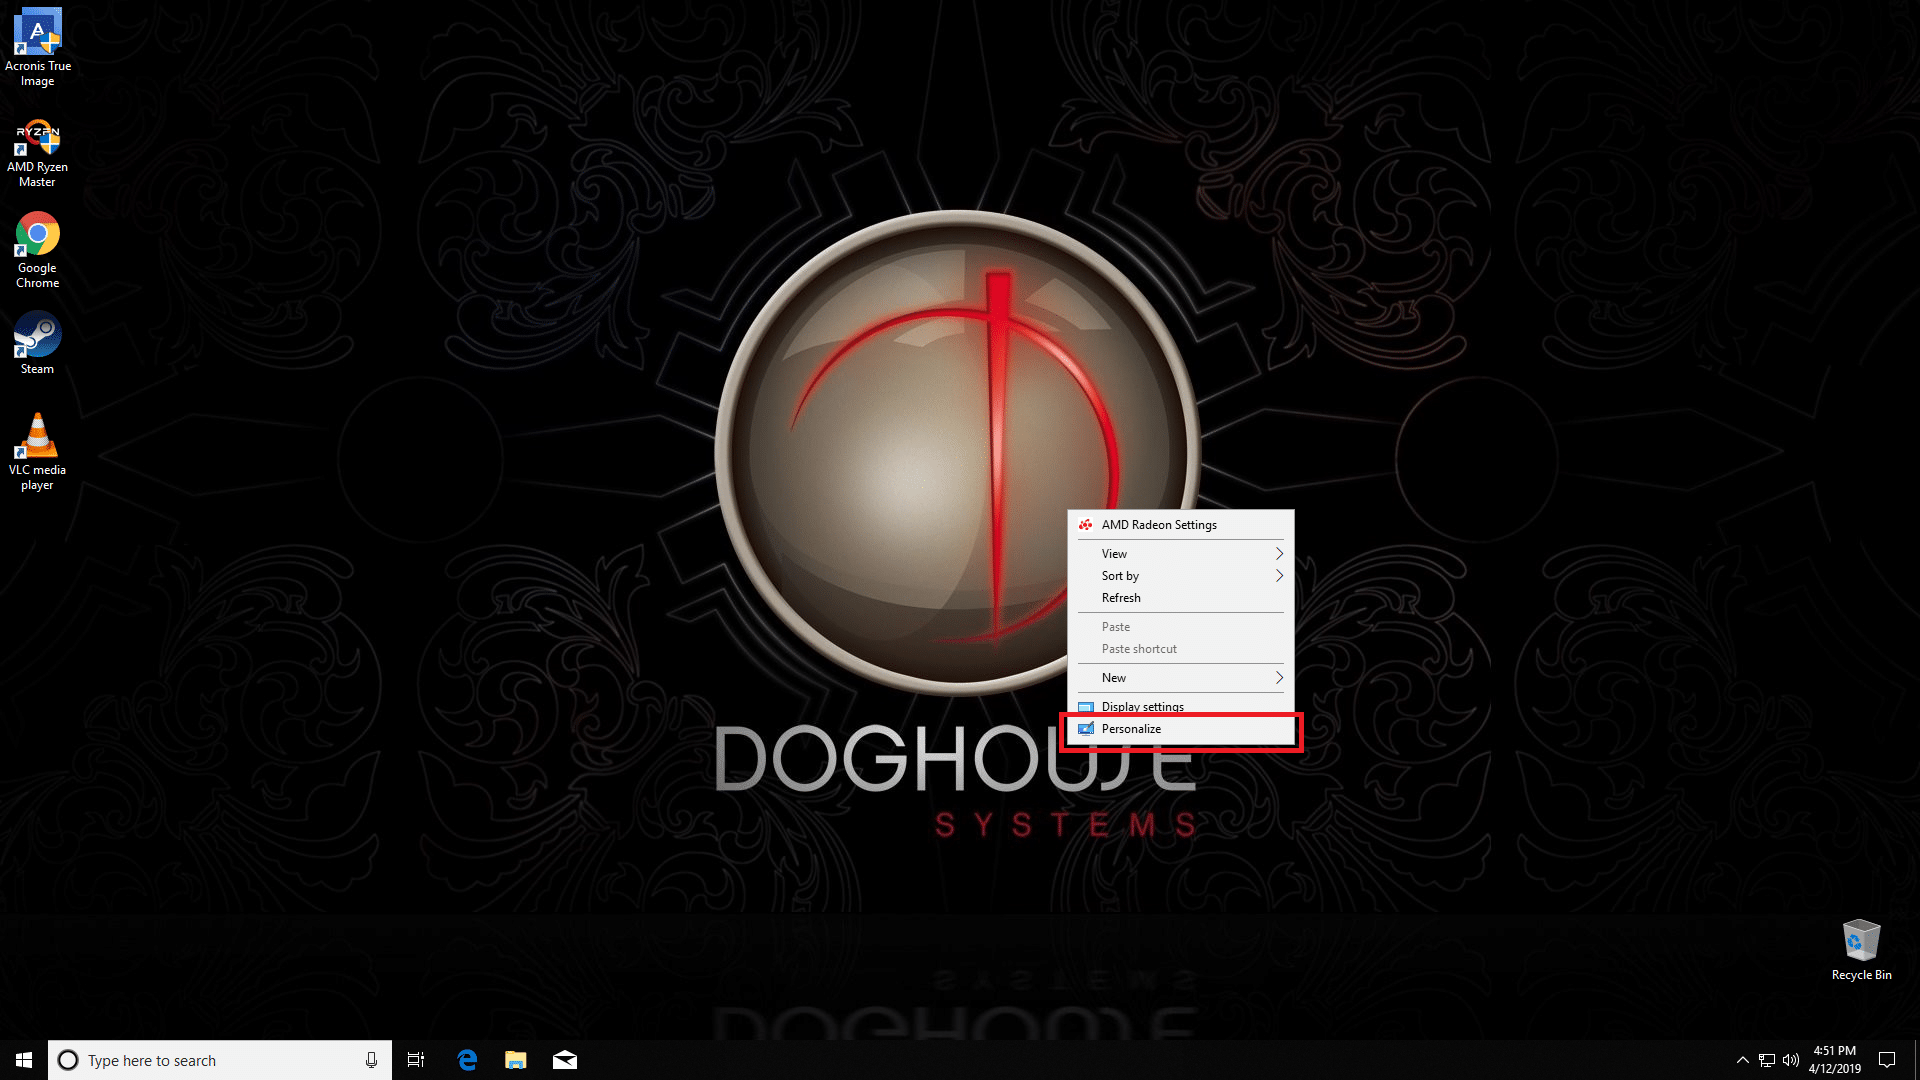
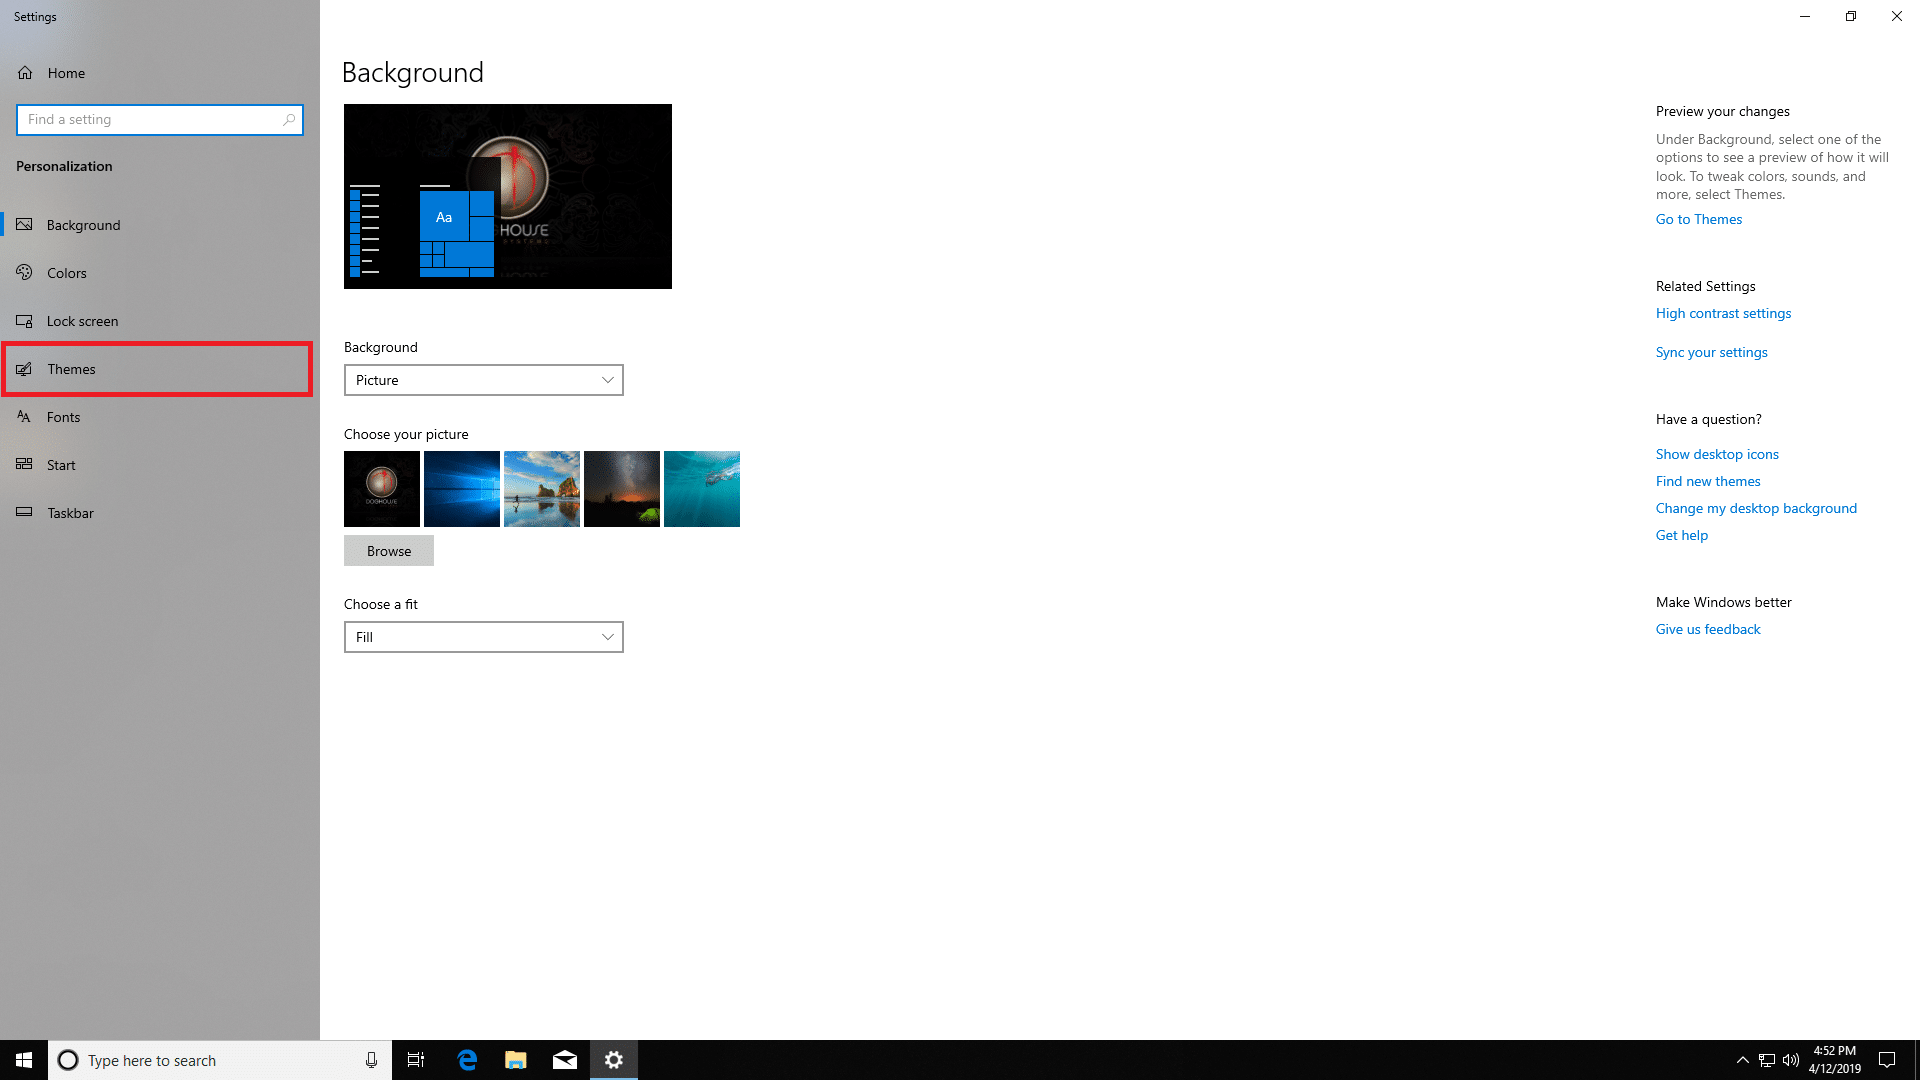
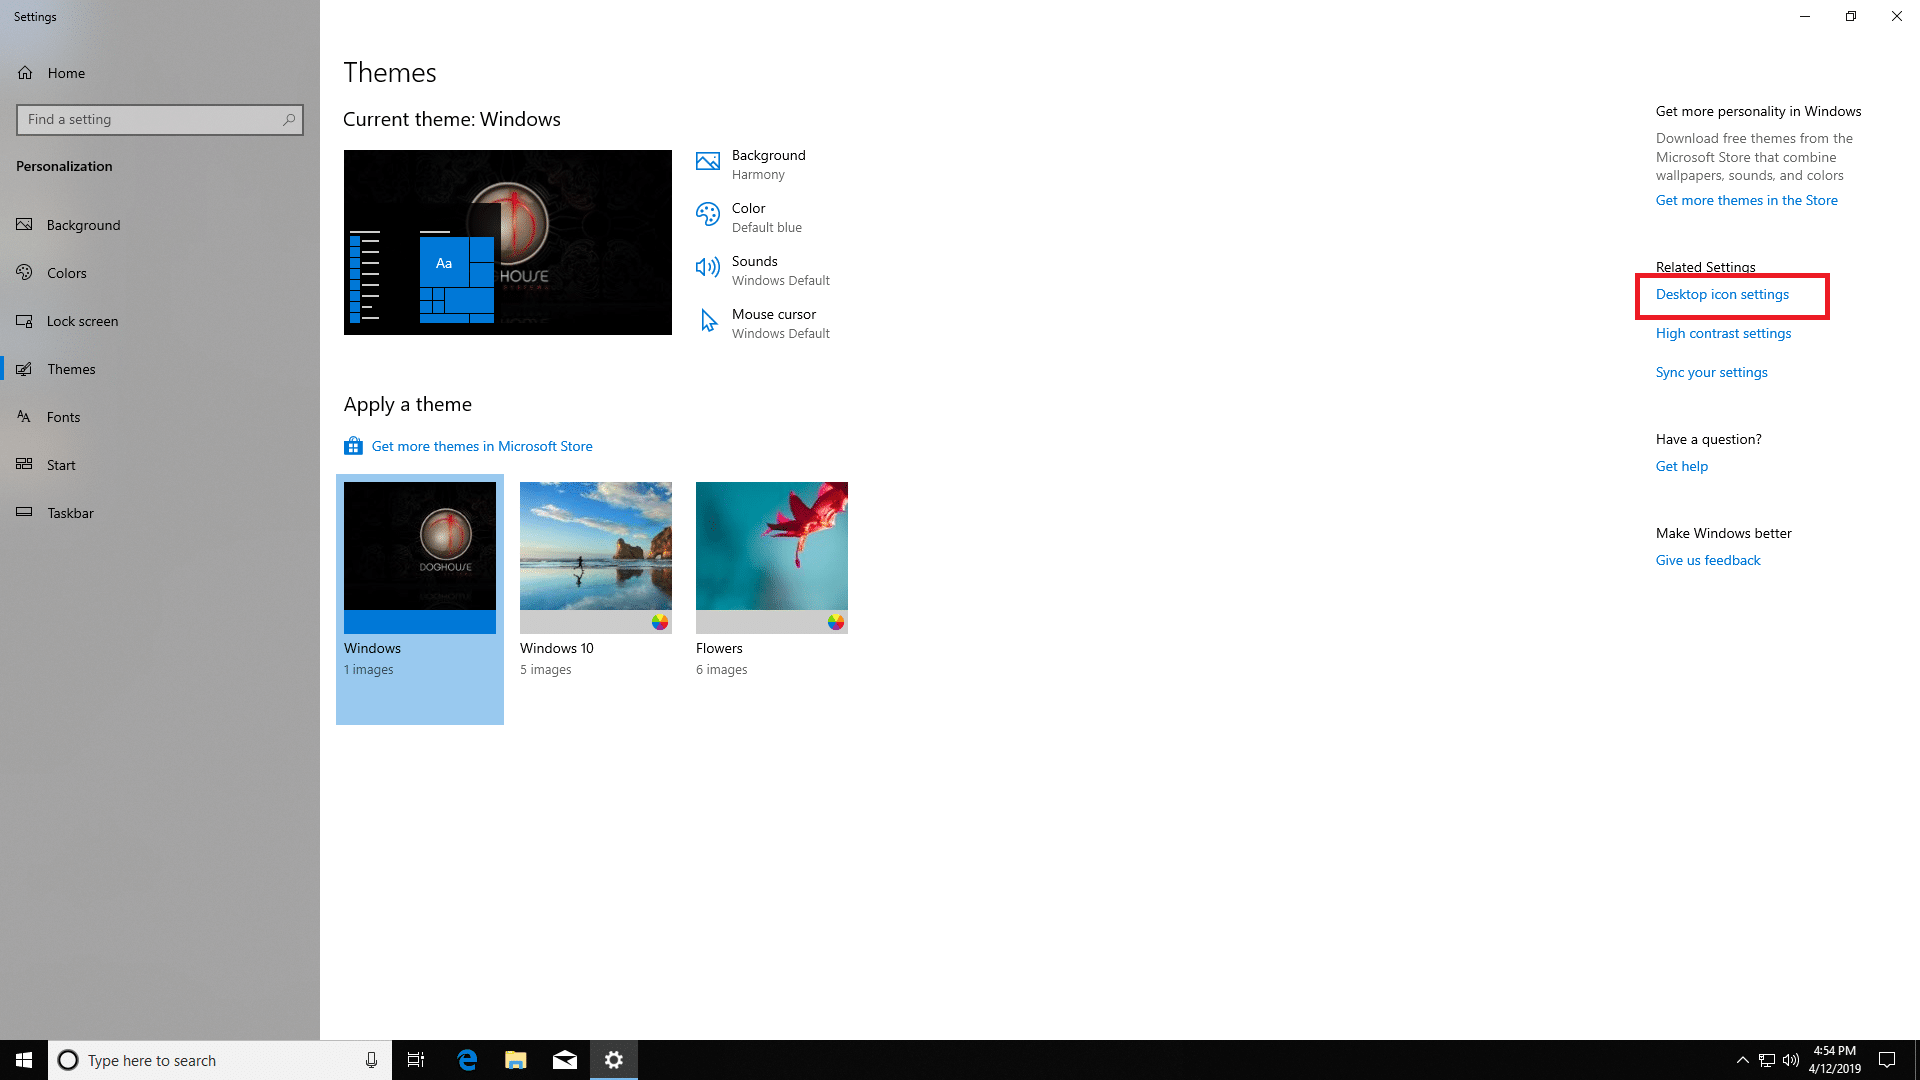
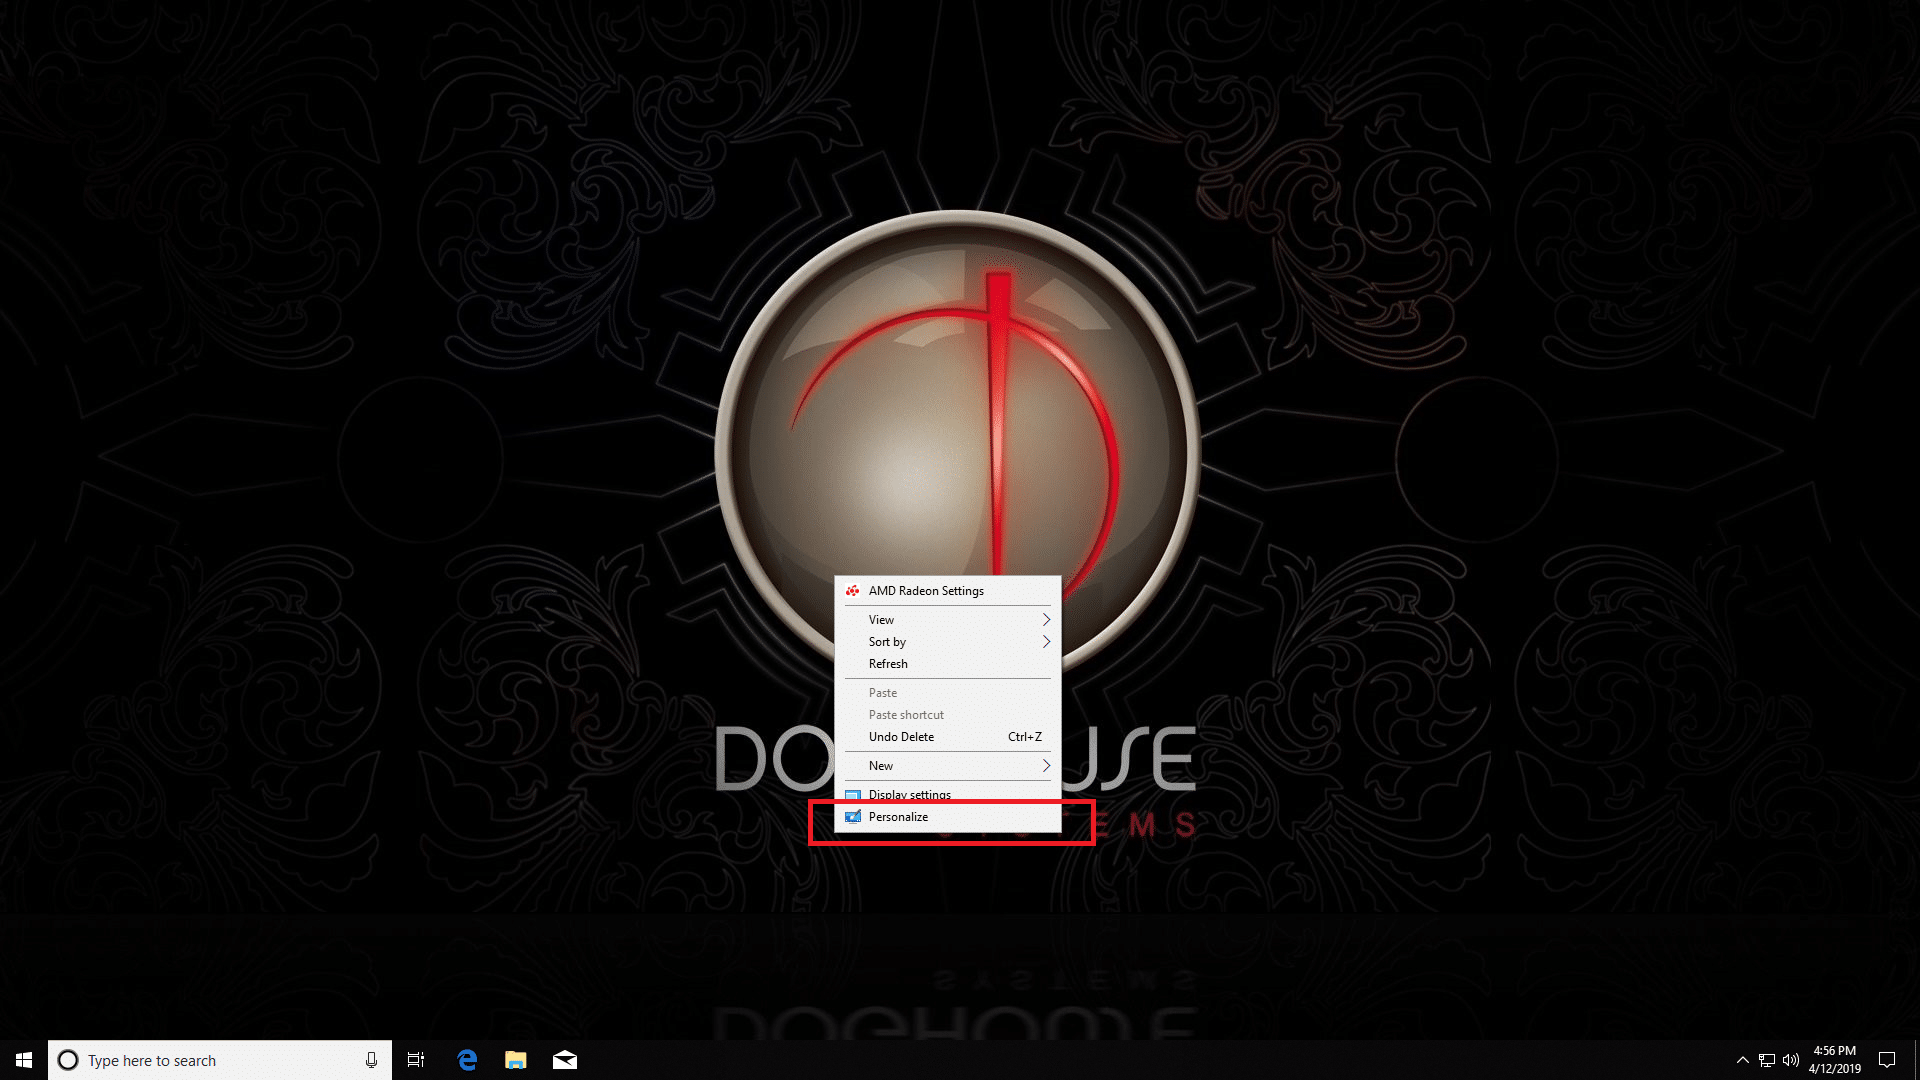
I prefer a clean desktop without icons. To do this we’ll right click on the desktop and click on Personalize and then jump into the Themes tab on the left and click on the Desktop icon settings link on the right. Here we’ll uncheck everything and click on Apply and OK. If you’re looking for the Recycle Bin, just search for it by pressing Start or the Windows Key and typing “recycle”. Alternatively, you can right click the Recycle Bin icon on your desktop and select Pin to Start before removing your desktop icons. If you prefer quick access from the desktop you can also enable all of the desktop icons.
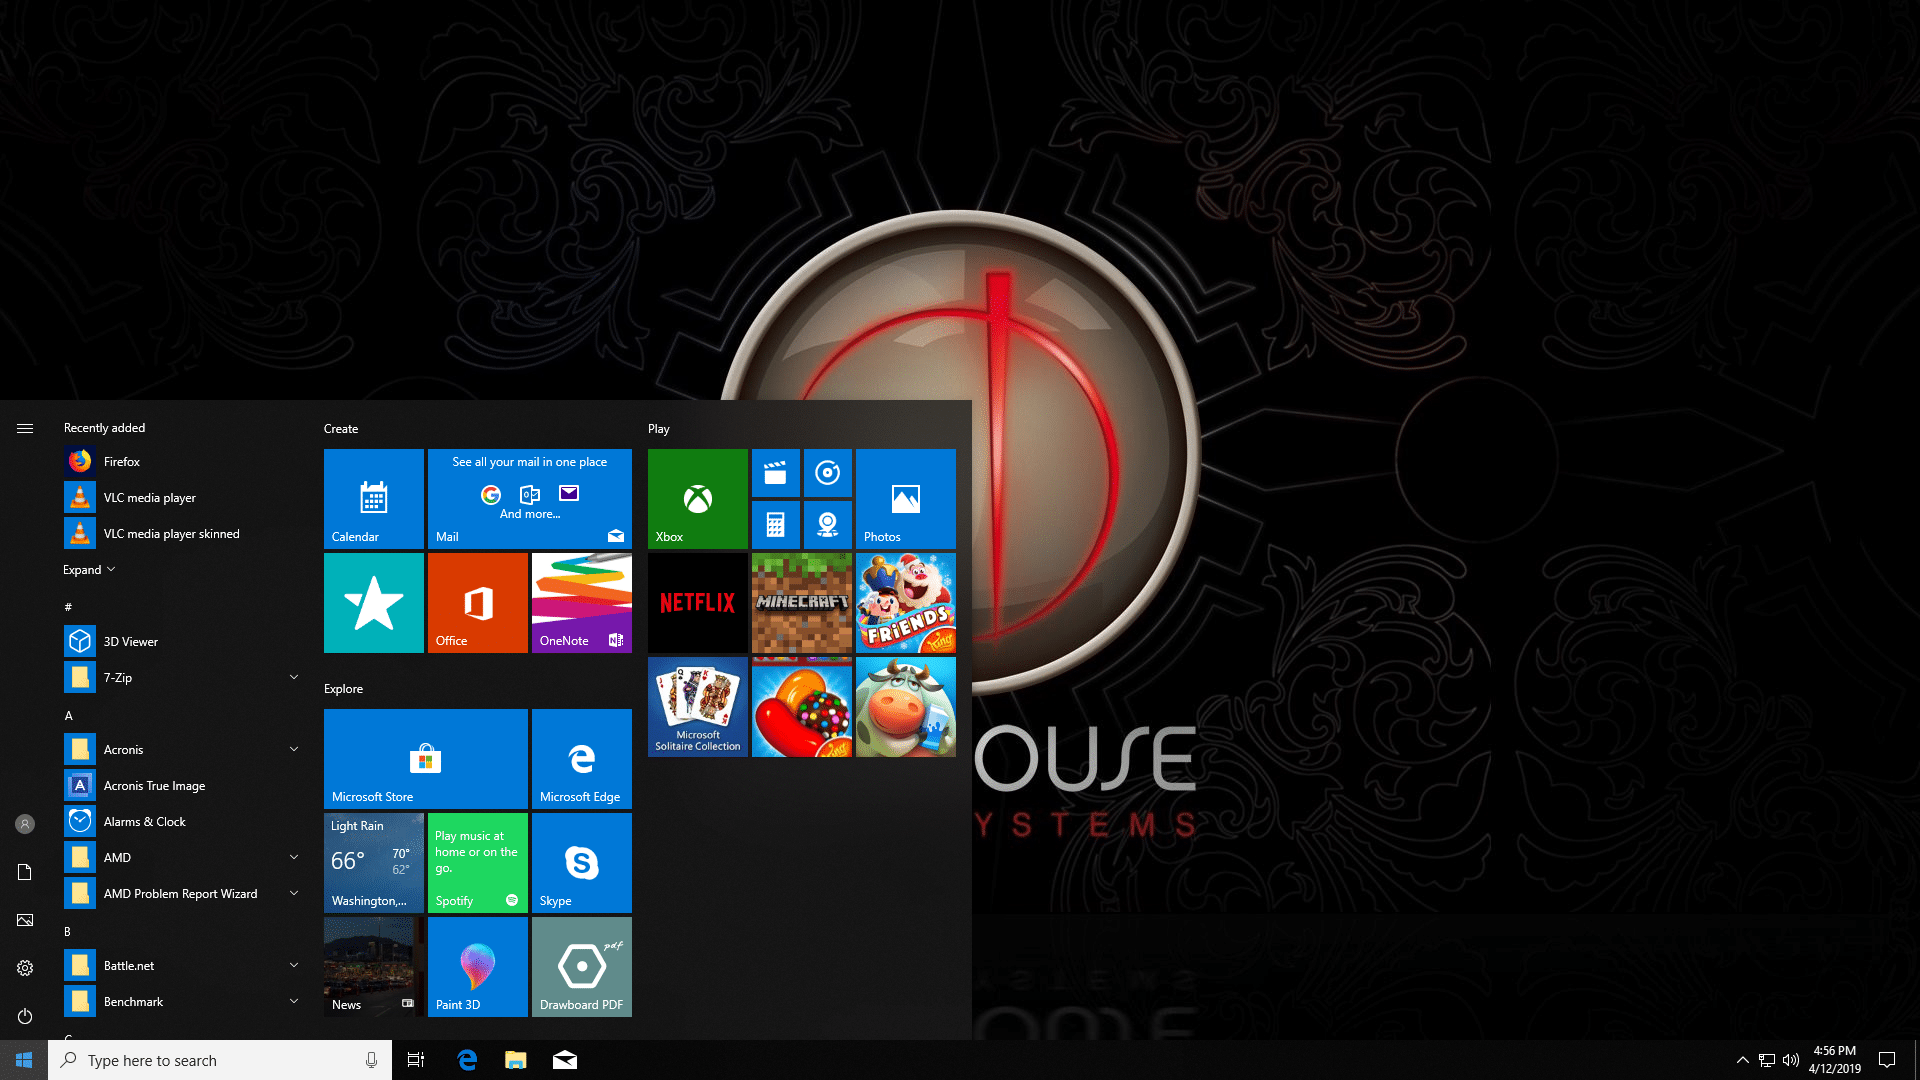
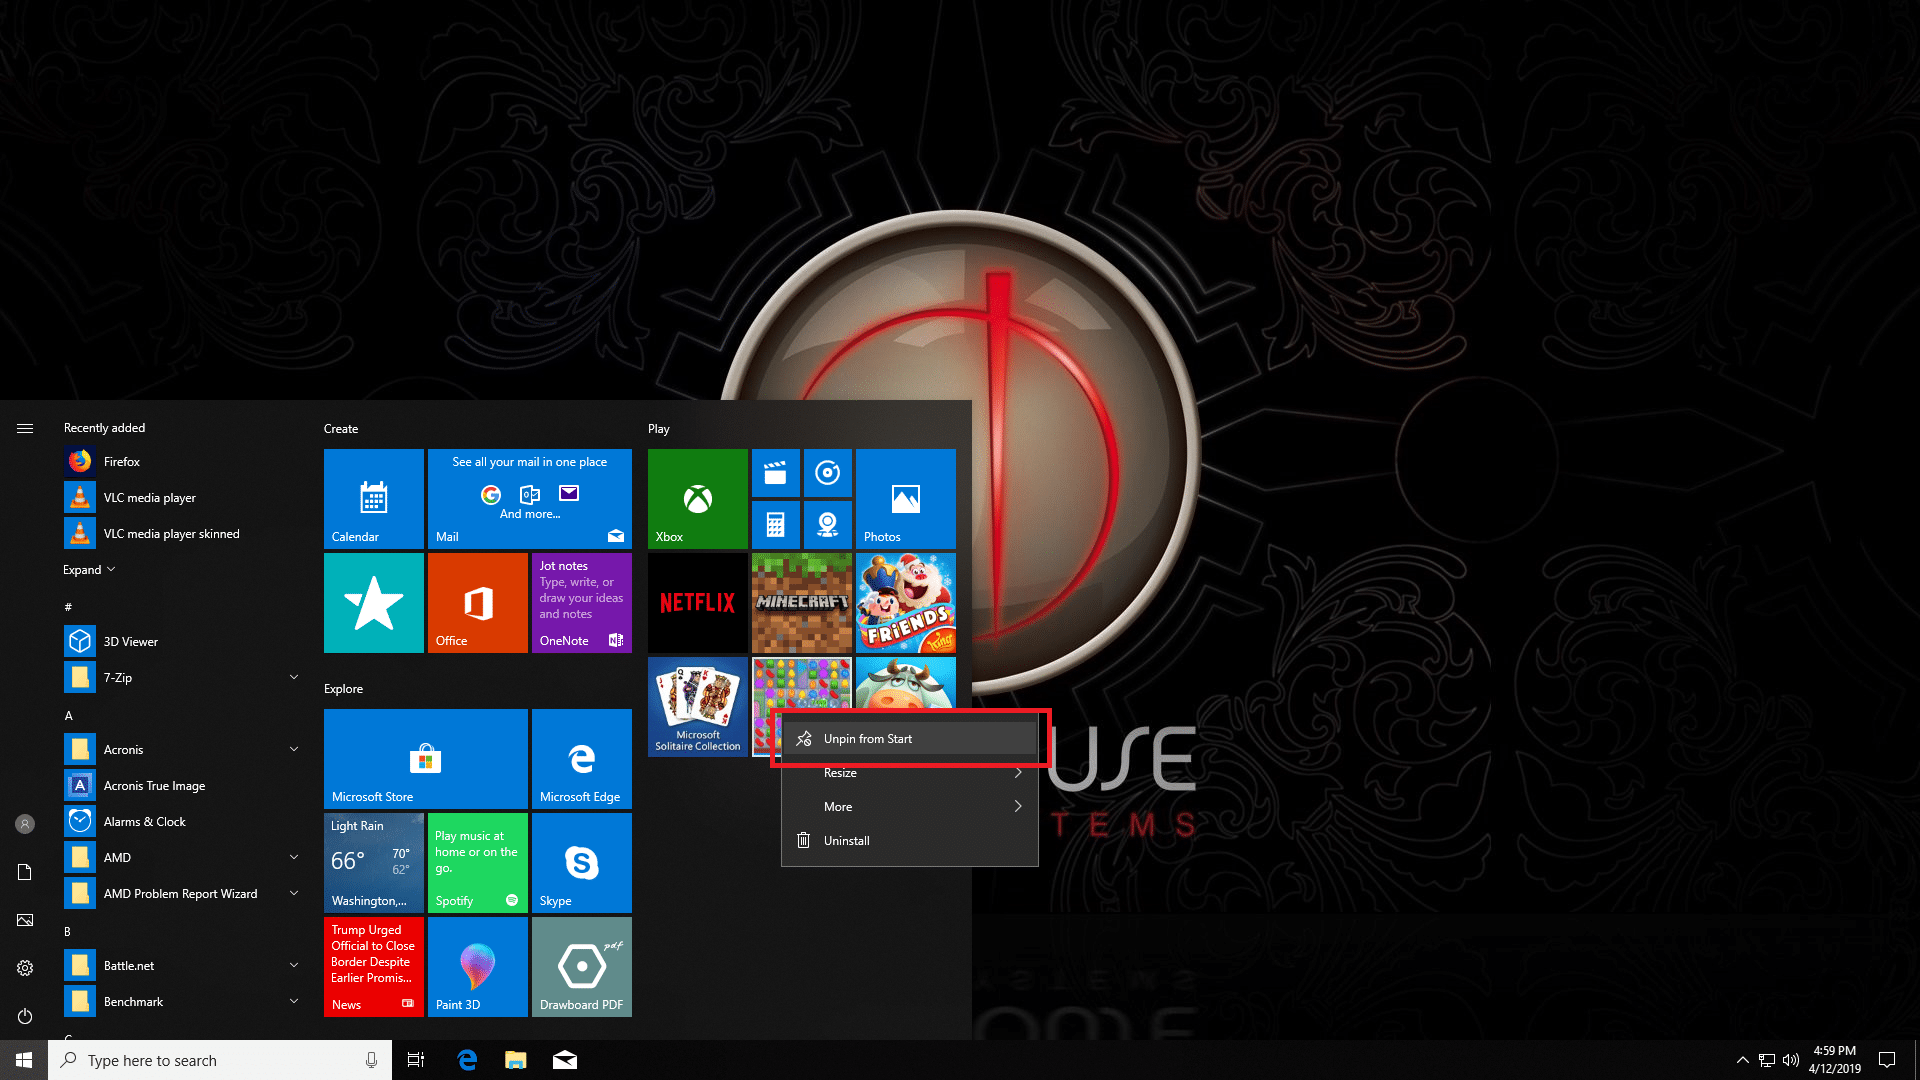
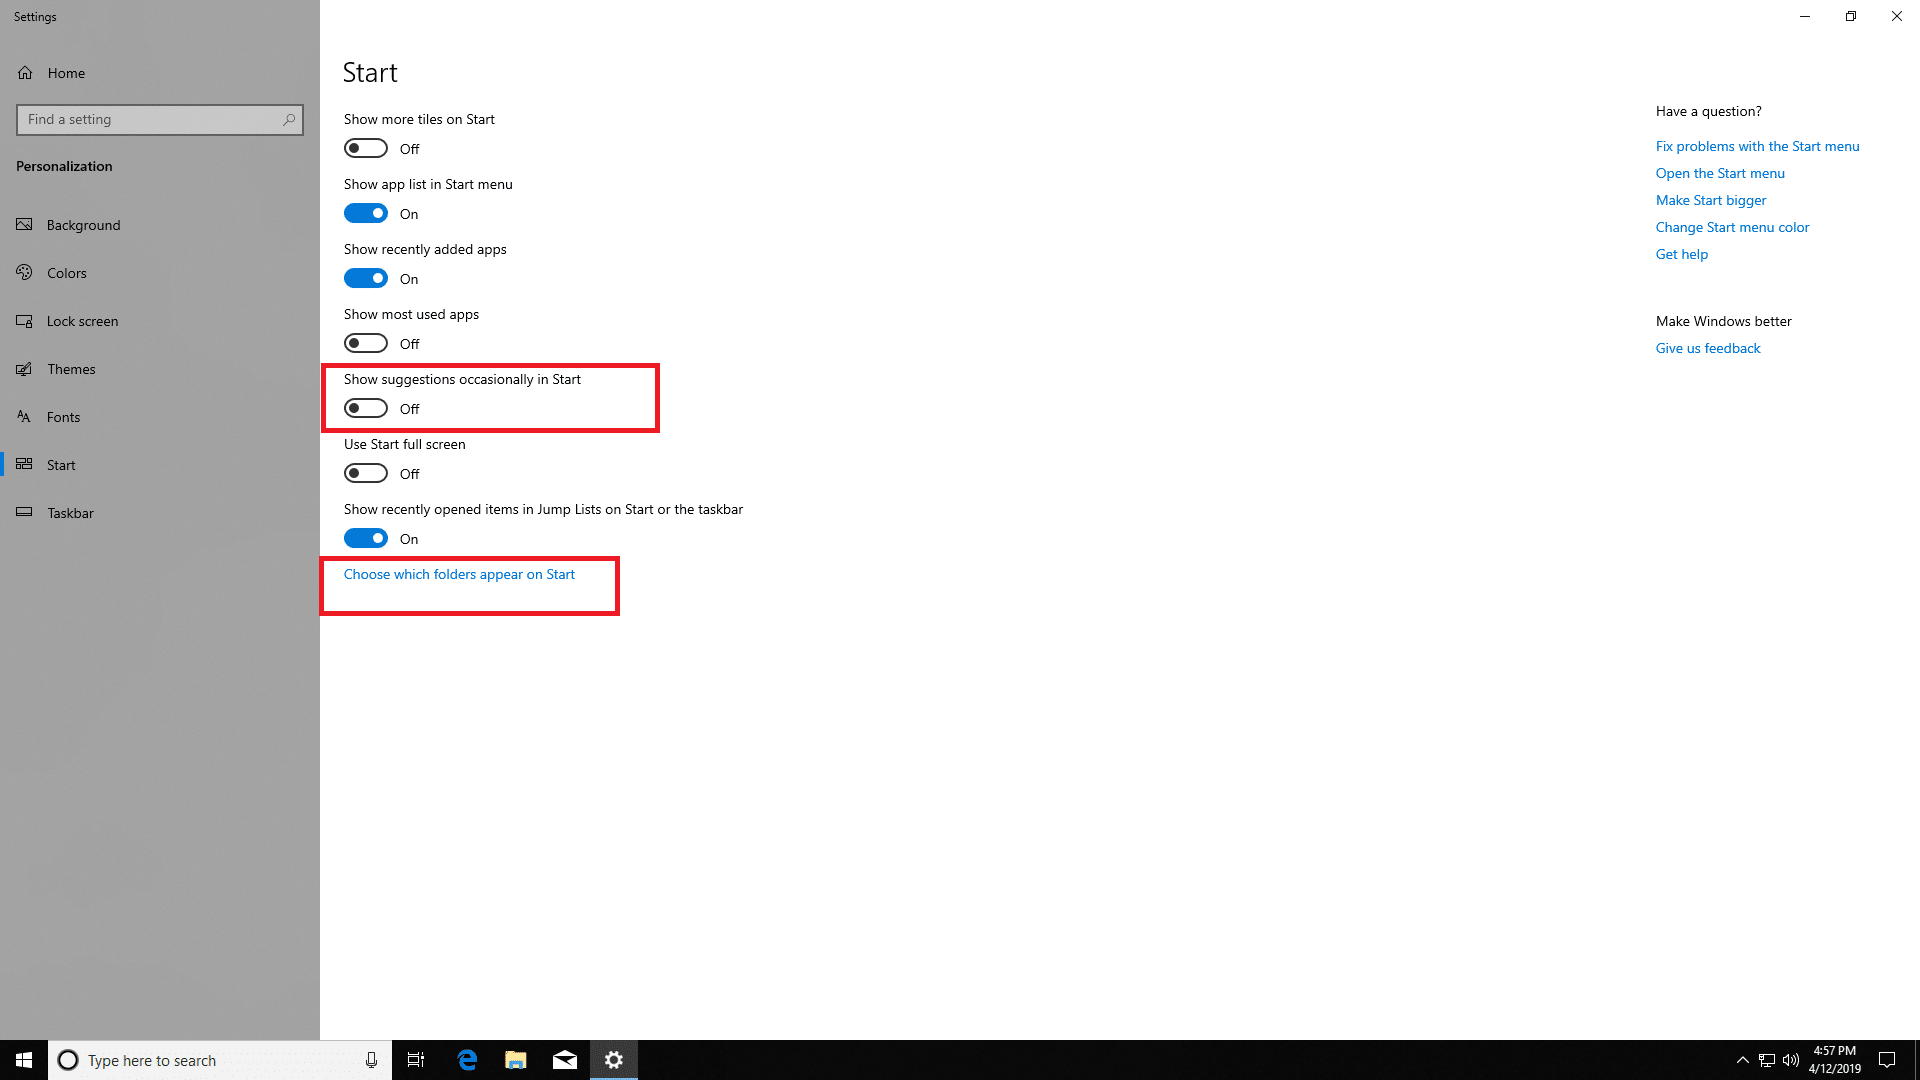
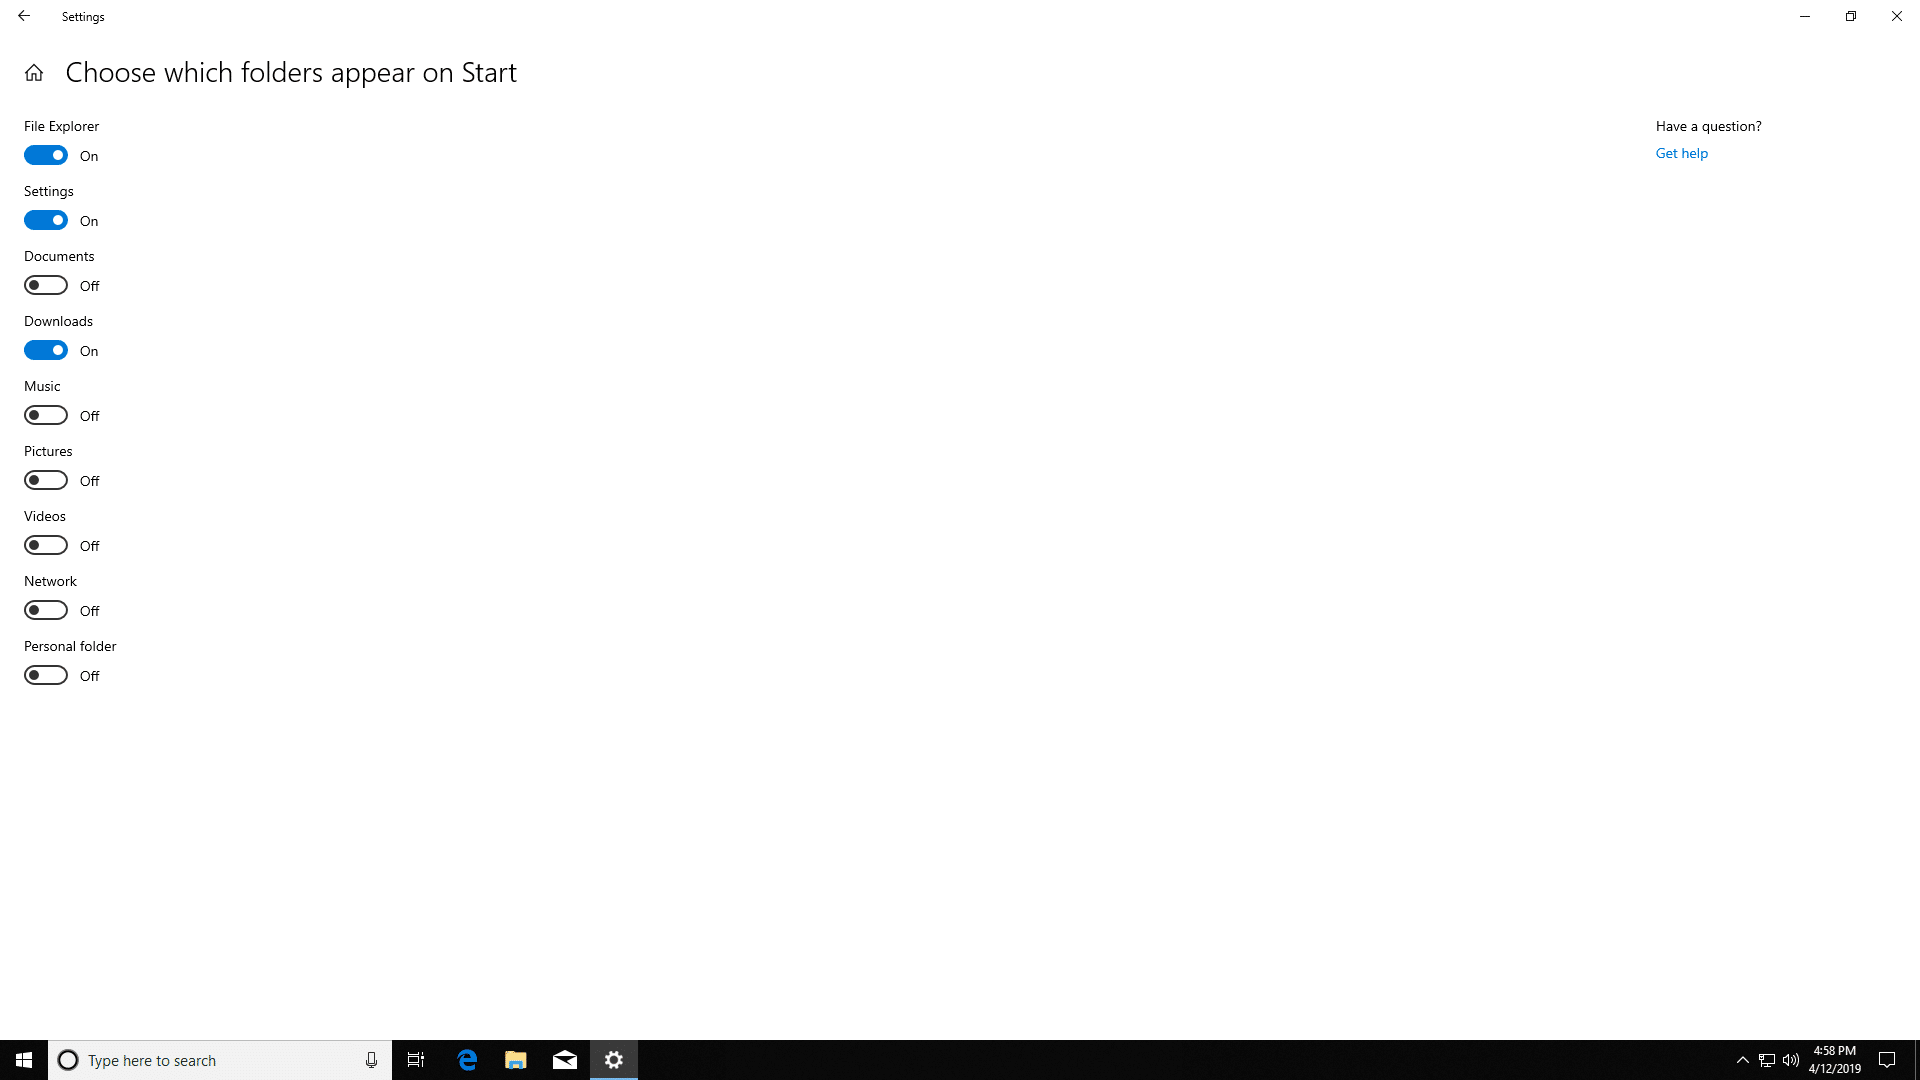
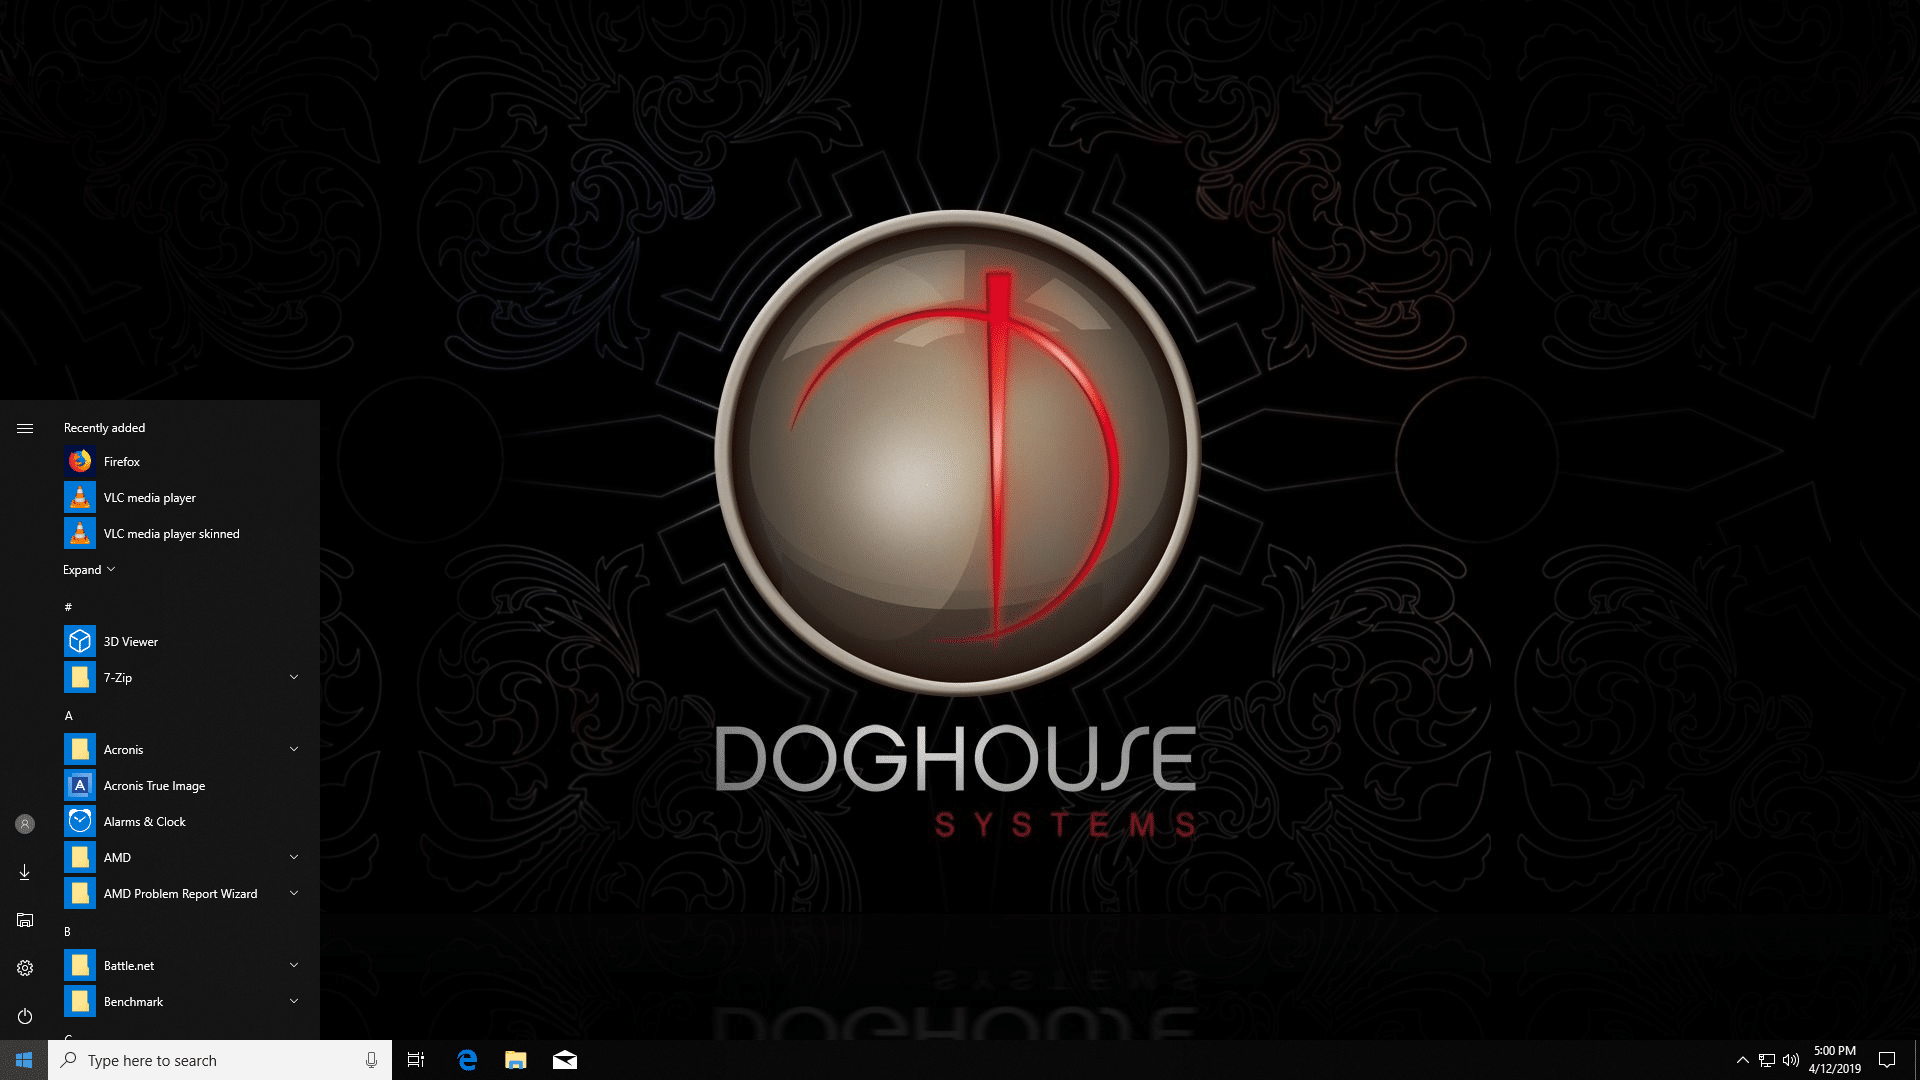
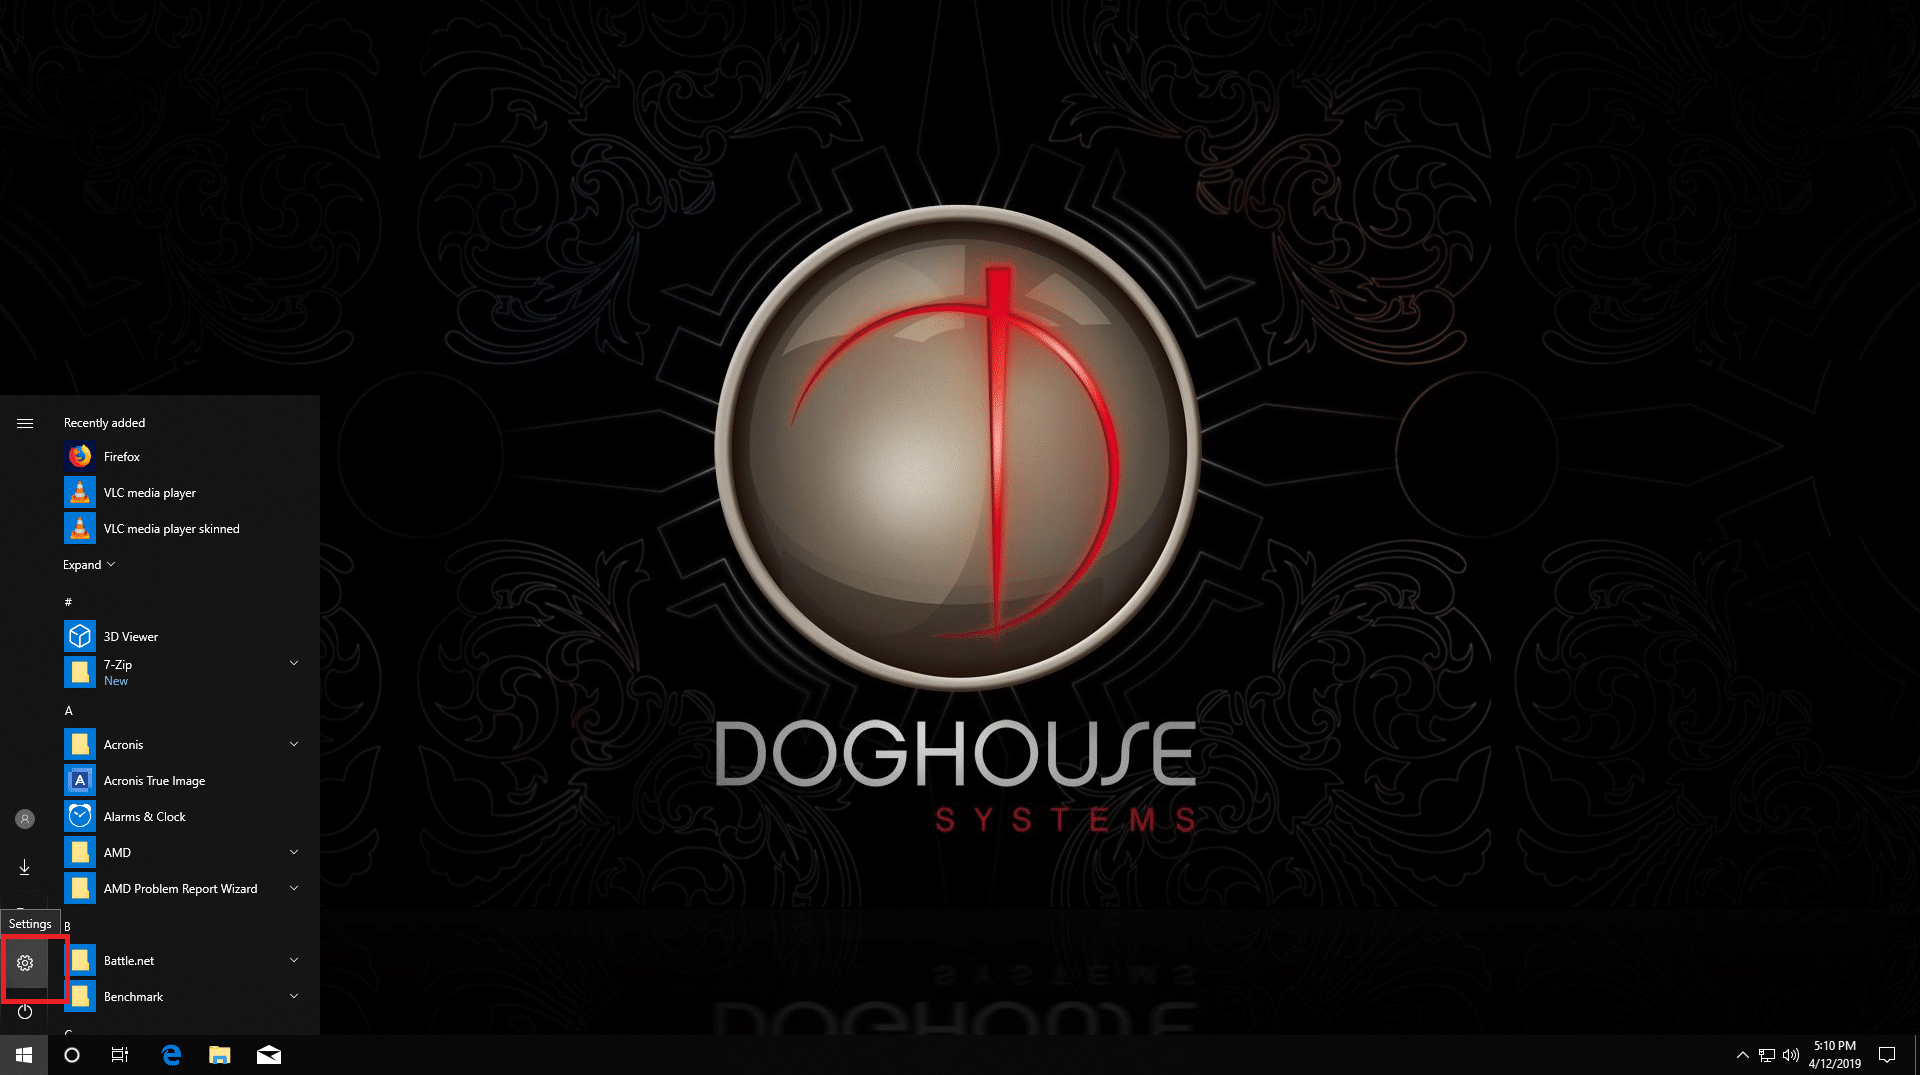
Now to tackle the Start menu. Like before, I prefer a clean layout. To do this we’ll right click on each tile and select Unpin from Start. Alternatively, you can pin your most common apps here by right clicking on them in the start menu and selecting Pin to Start. We’ll also jump back into the personalize menu by right clicking on the desktop and selecting Personalize and selecting the Start menu on the right. In this menu we’ll make sure Show suggestions occasionally in Start is switched off to stop windows from automatically installing Candy Crush for the 12th time and we’ll click on Choose which folders appear in Start. Here we’ll select the icons we want to appear along the edge of the start menu. My personal picks are File Explorer, Settings, and Downloads.
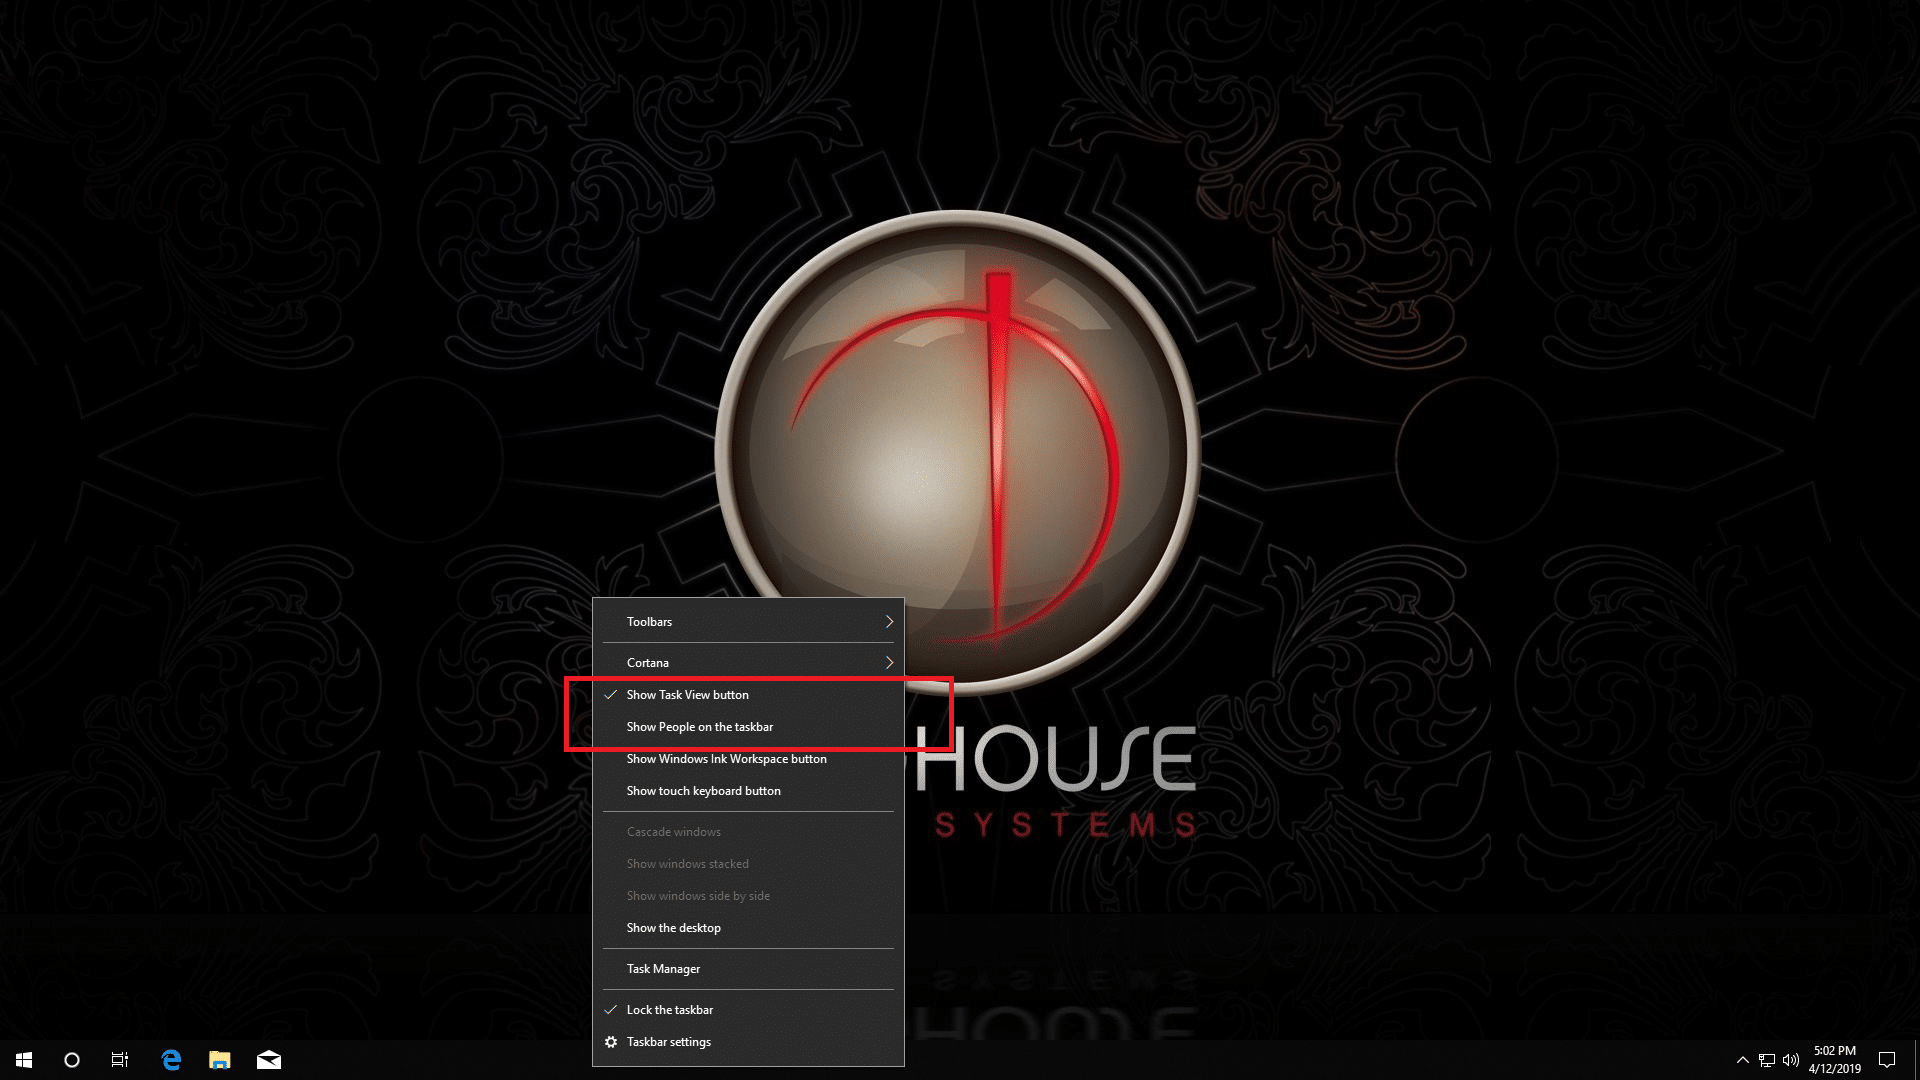
With those two customized, we’ll turn to the taskbar. As lovely as Cortana’s voice is, we don’t necessarily need the search bar taking up valuable real estate on the taskbar. We’ll right click on the taskbar and hover over Cortana and select Show Cortana Icon so she’ll still be easy to reach. You can also hide the Cortana icon if you prefer not to use the digital assistant. We’ll also make sure Show Task View is checked and Show People on the taskbar is either on or off, depending on your preference. Task view is a great way to quickly see everything you’re currently working on. The people feature allows you quickly reach your favorite contacts from the Mail app and Skype.
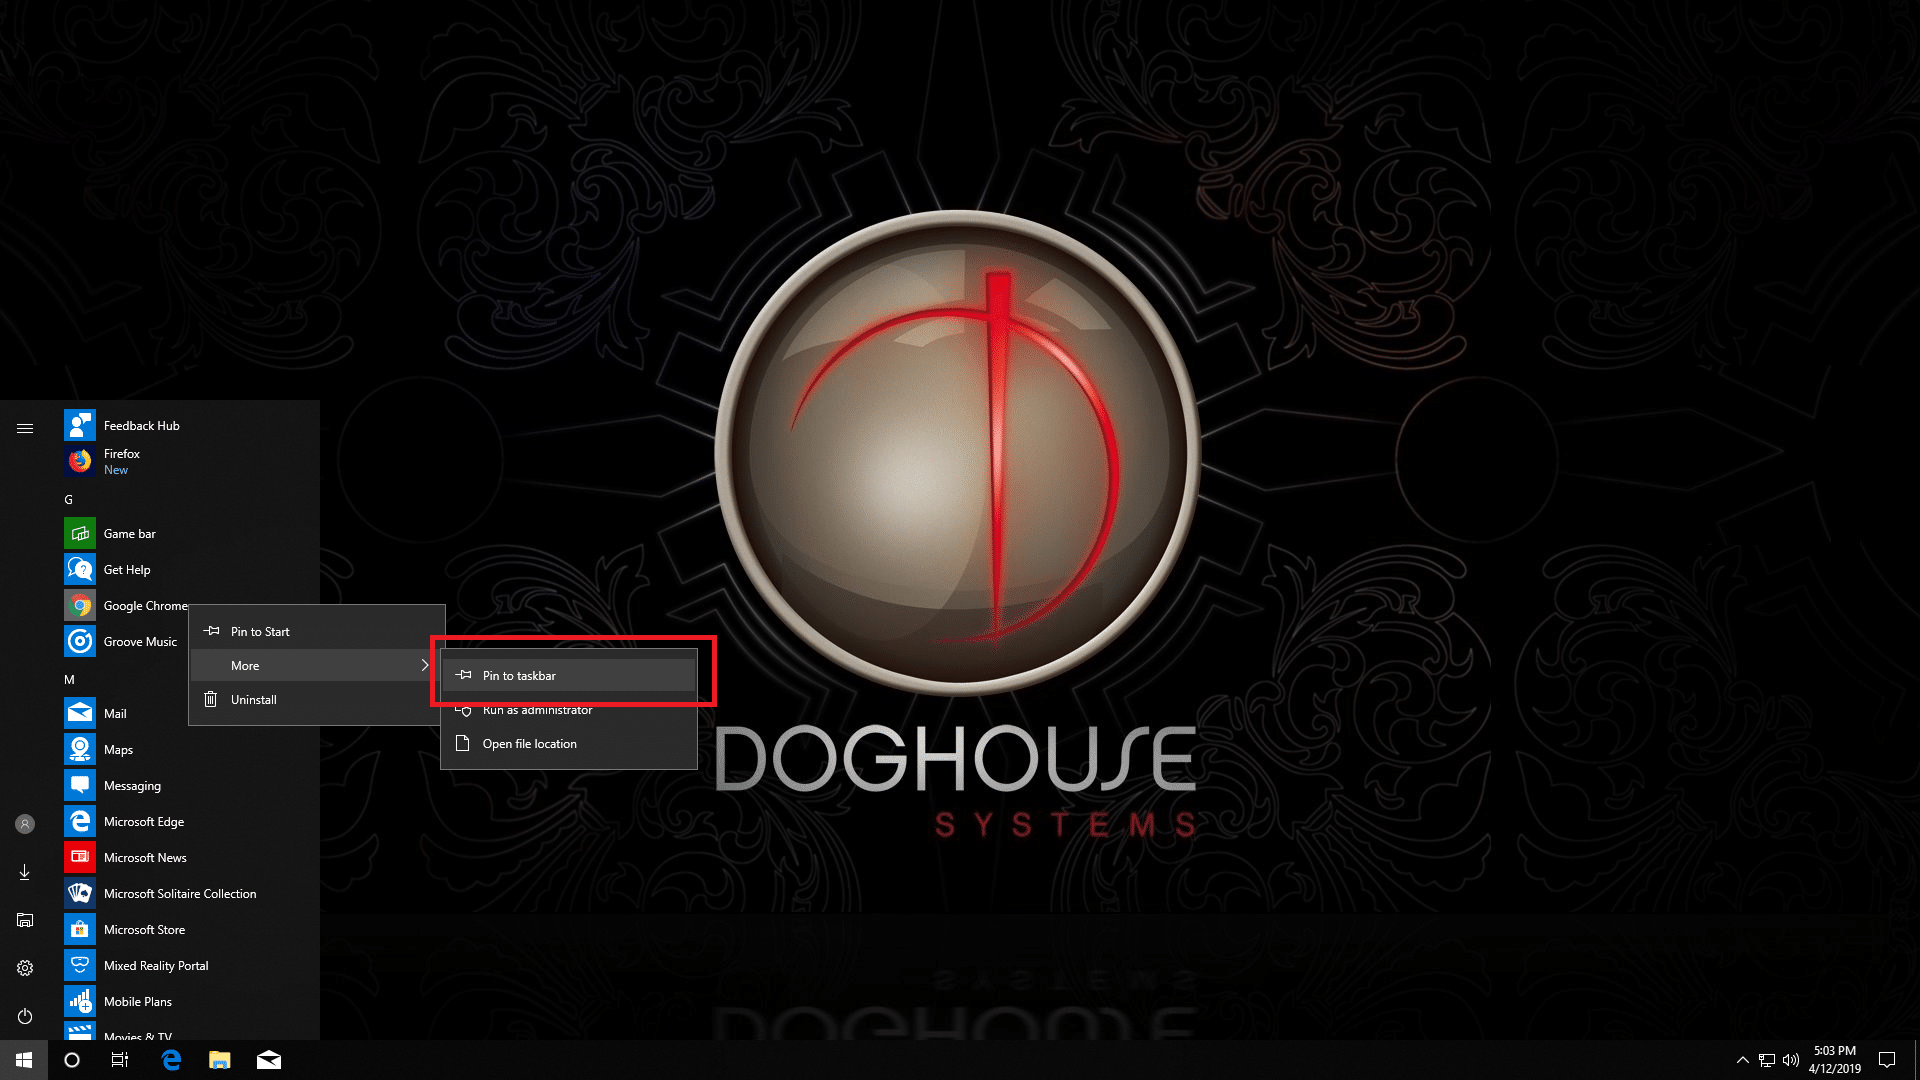
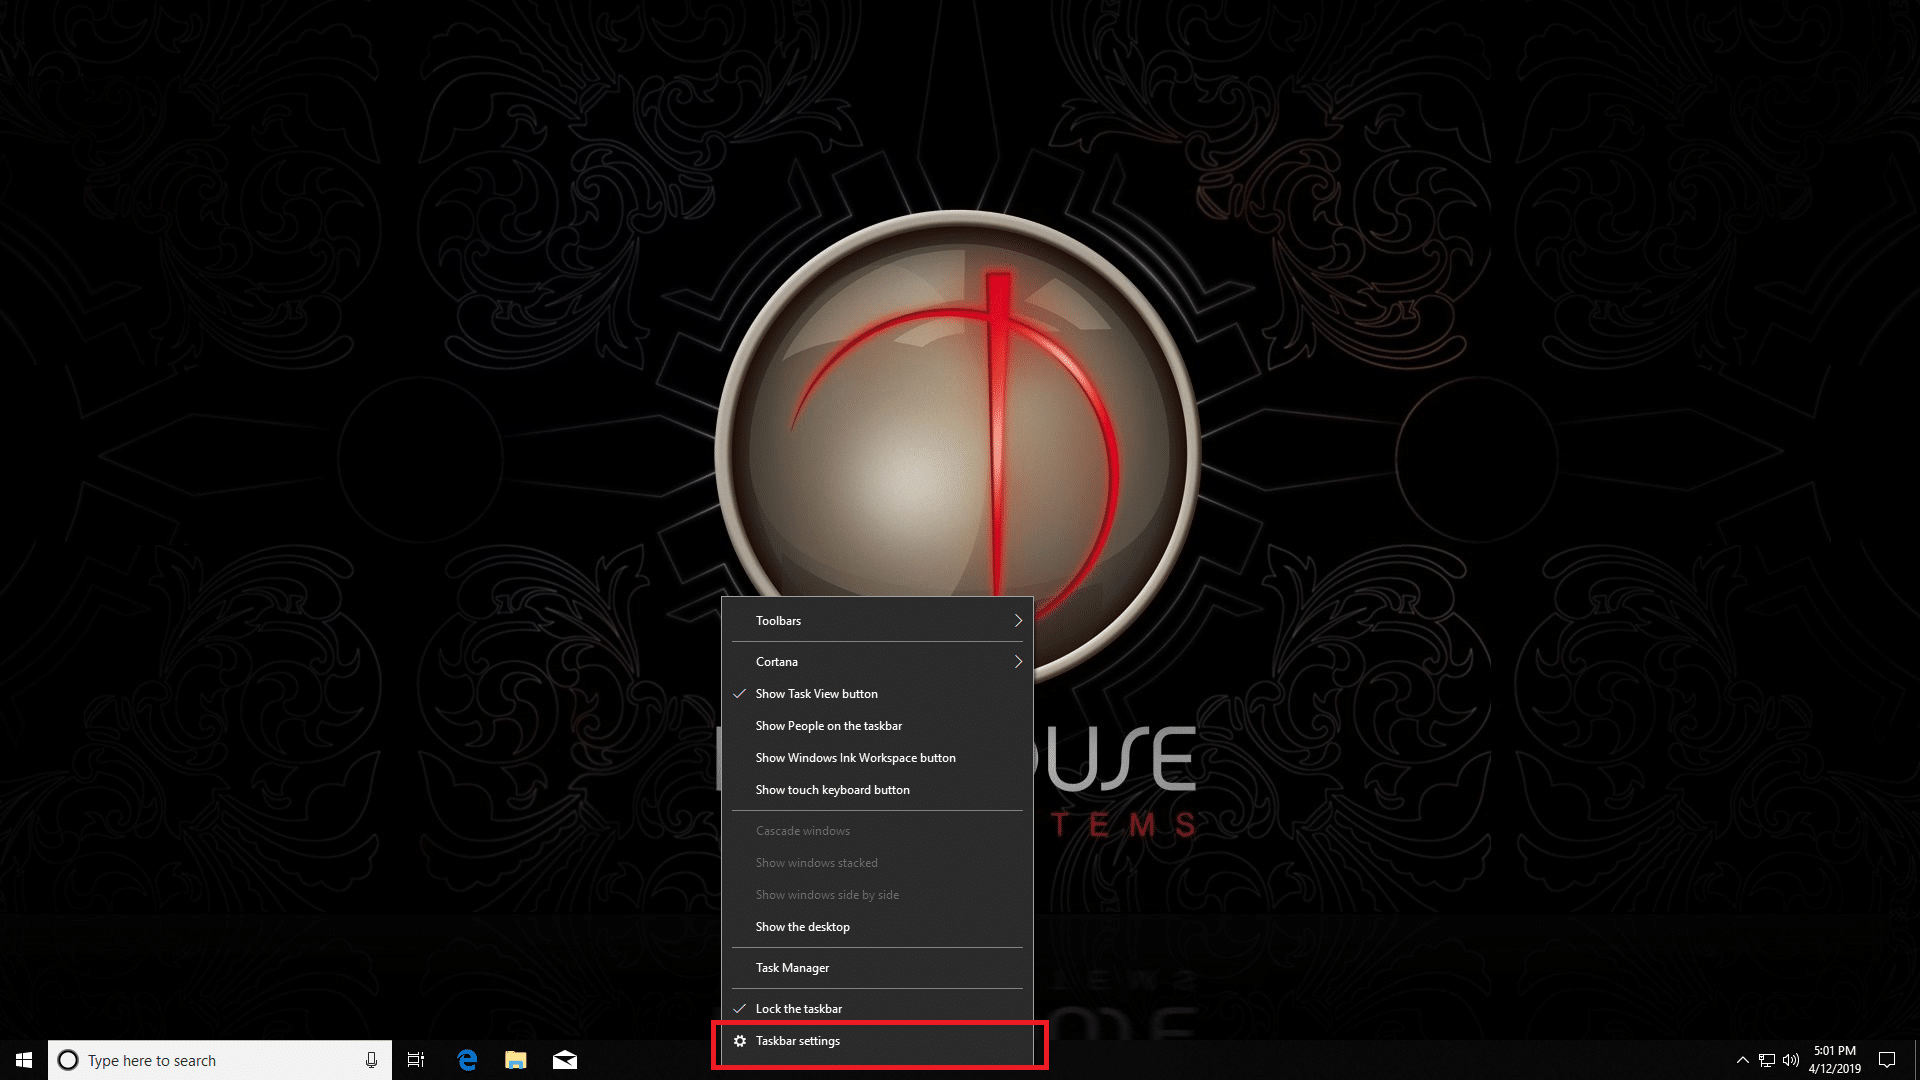
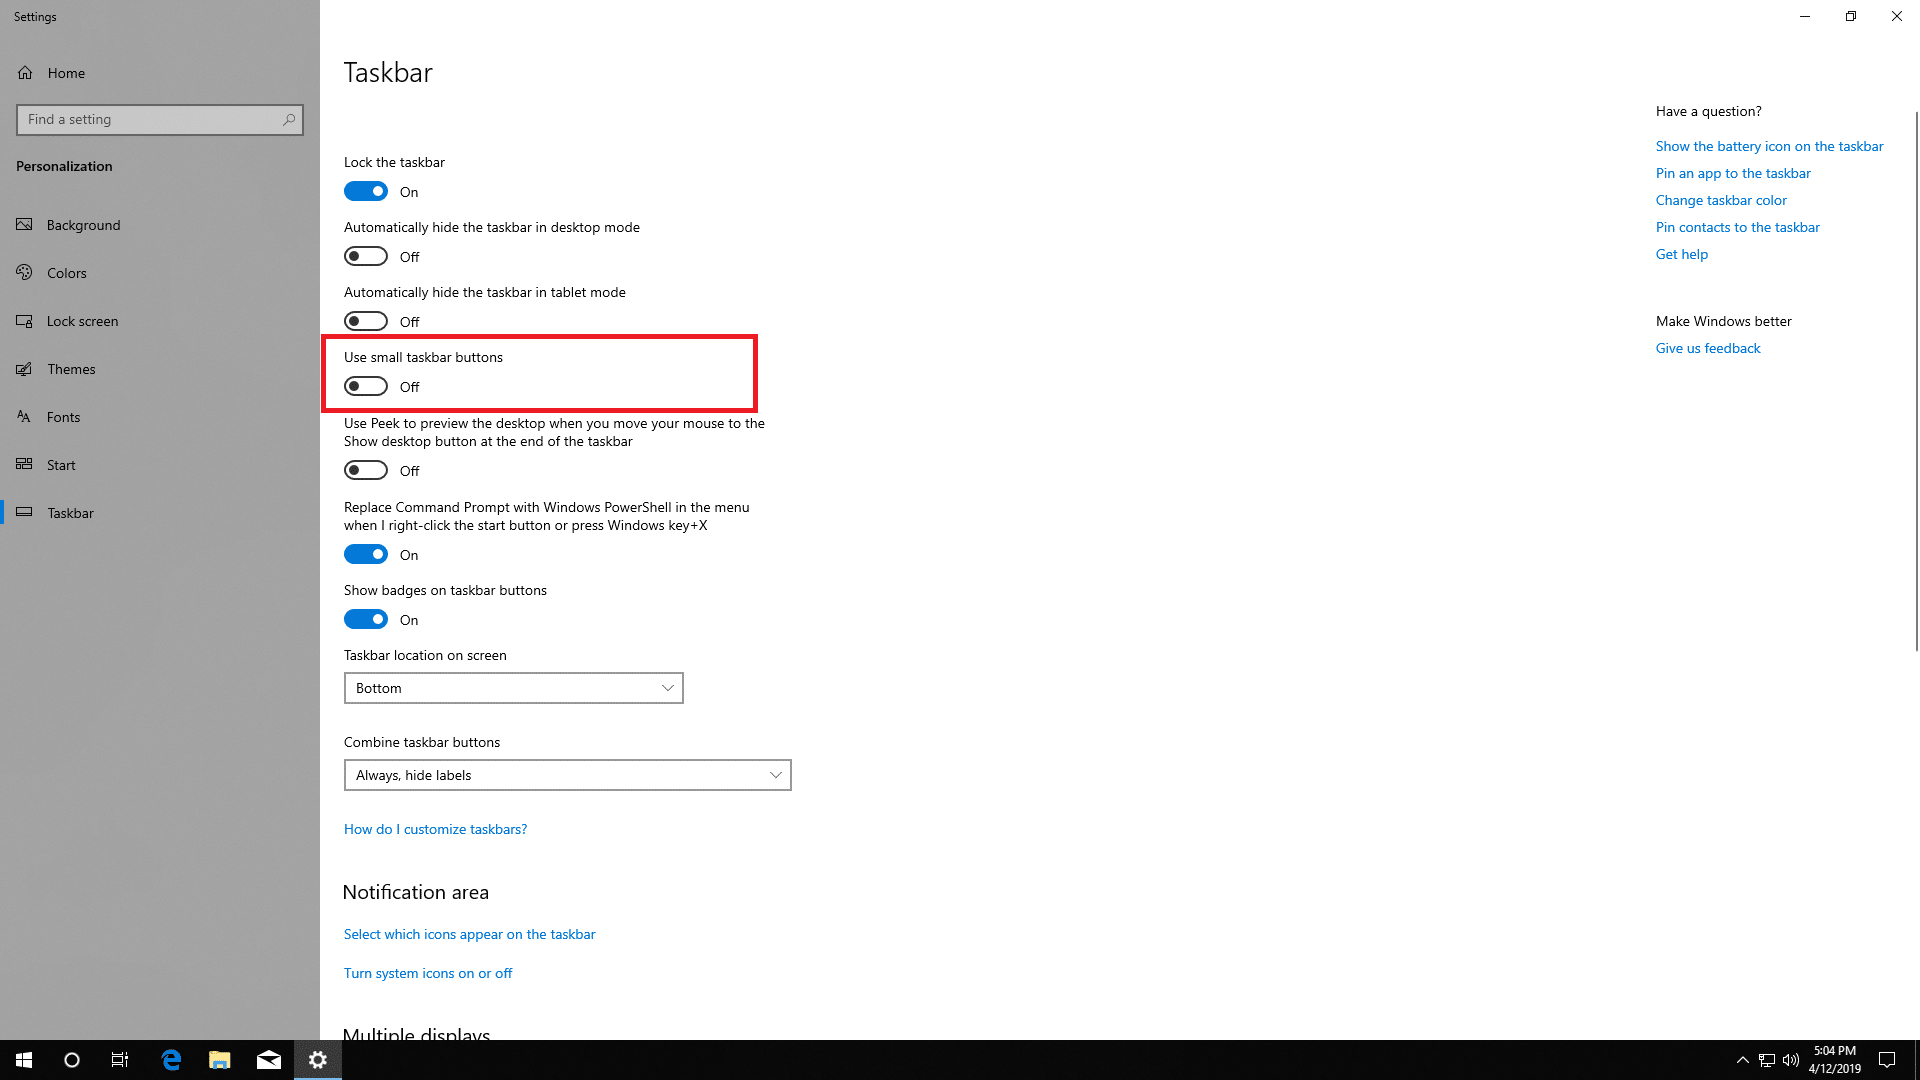
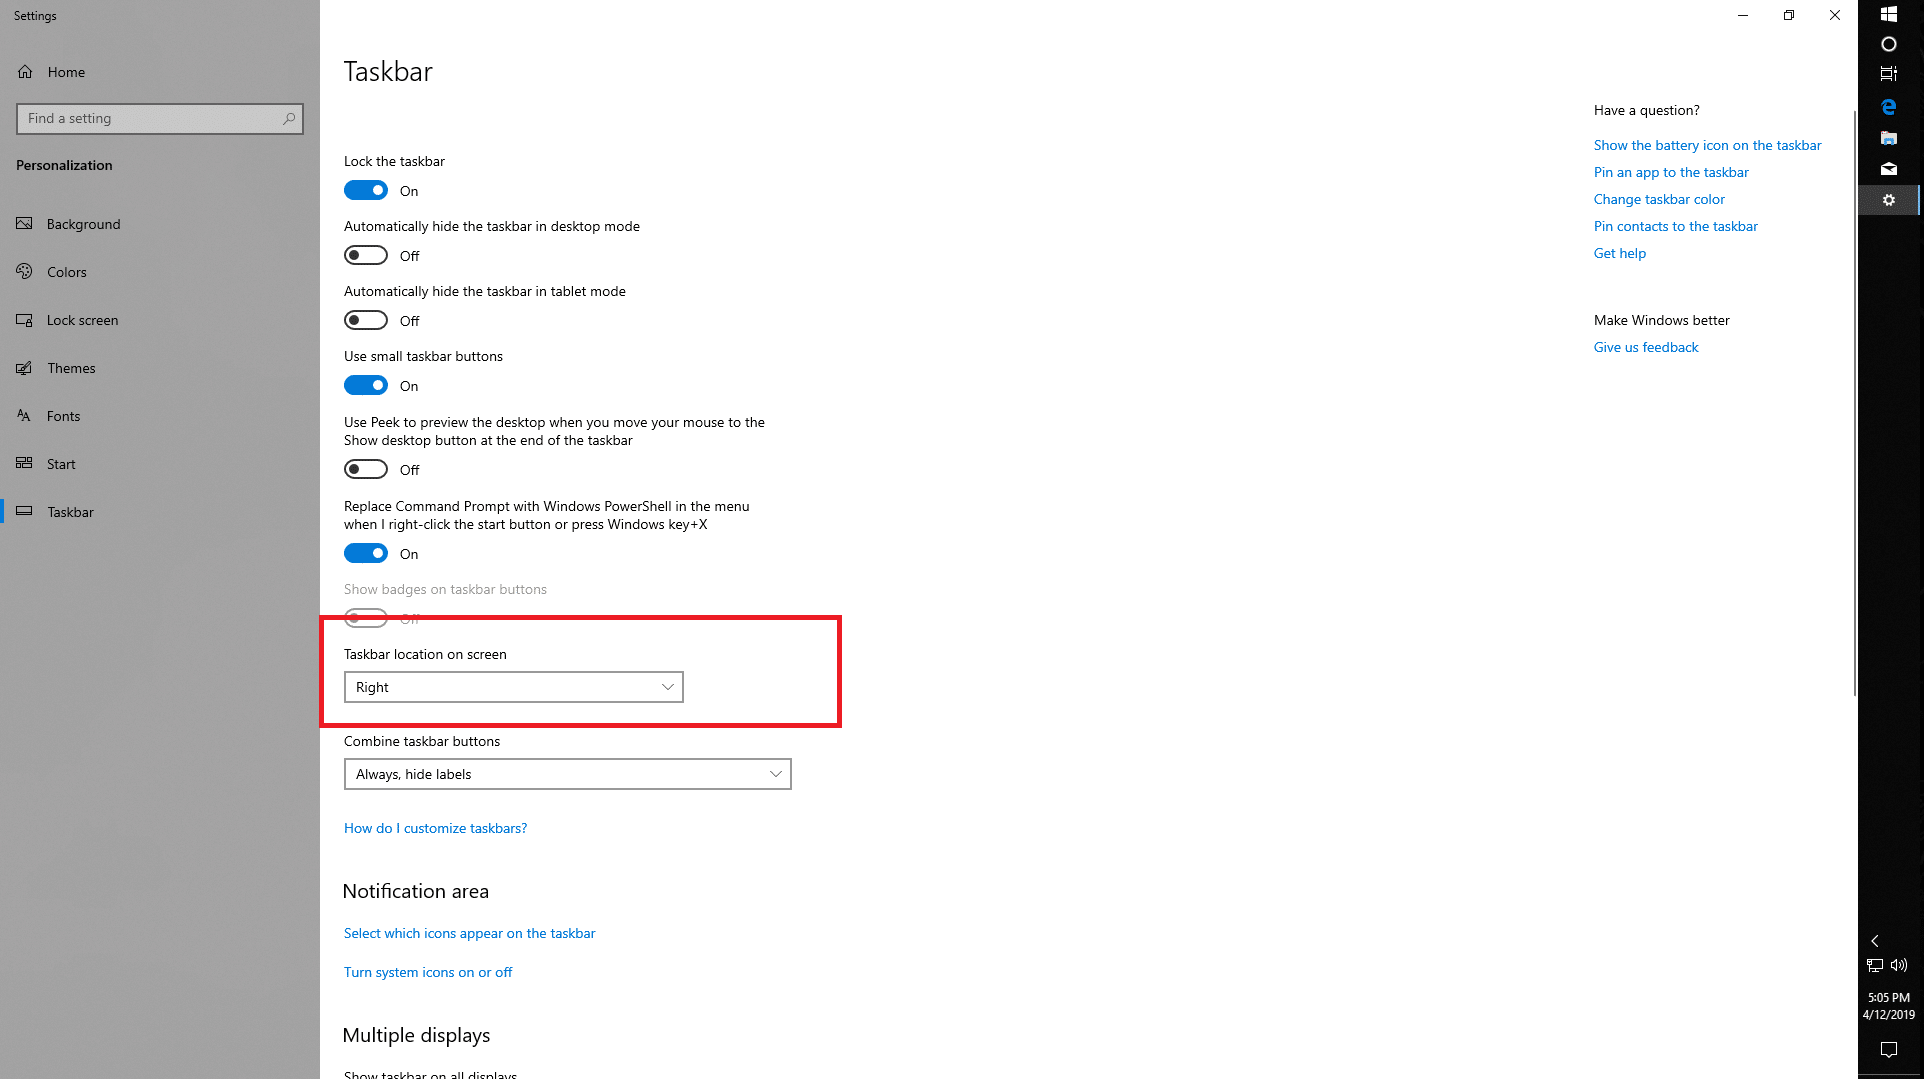
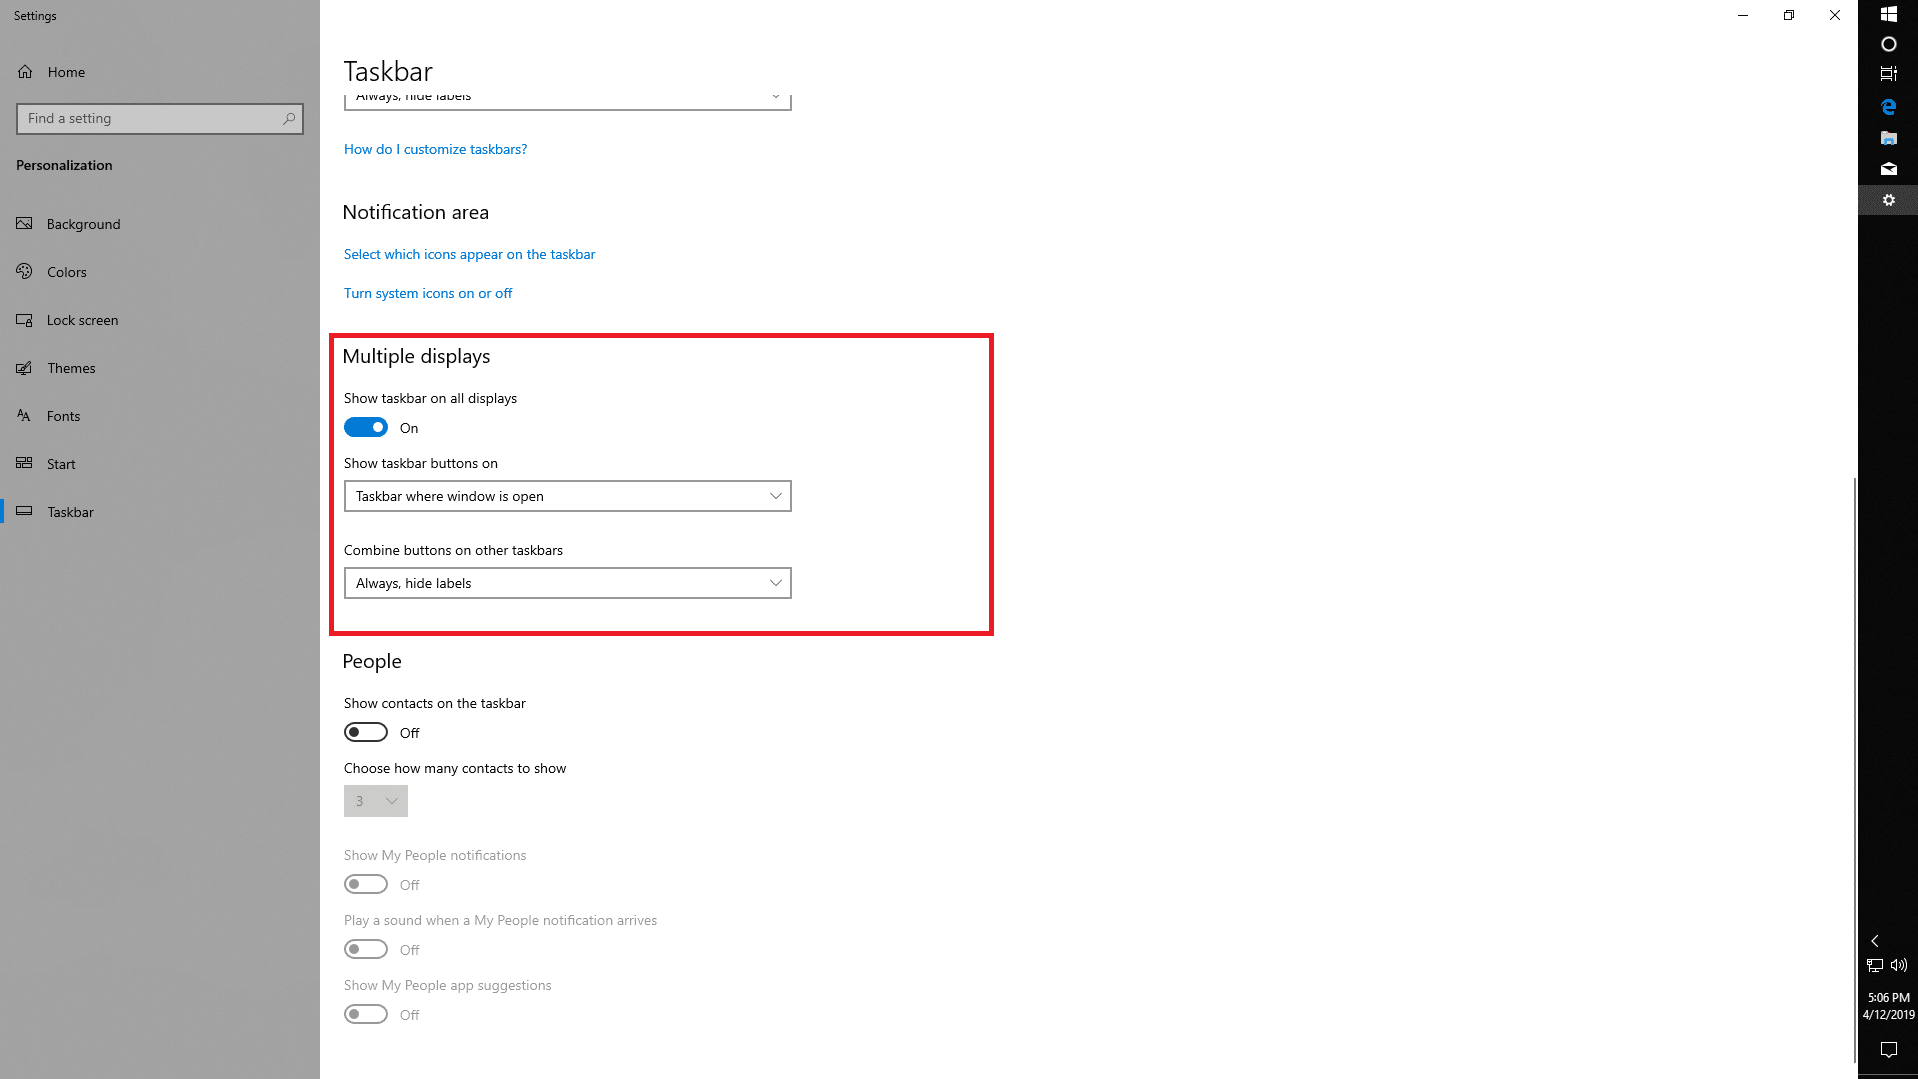
As you may have guessed, I also prefer a clean layout for my start menu and my most used apps live on my taskbar. From the start menu, we’ll right click on any frequently used apps, select More, and then Pin to taskbar. Depending on how many apps you pin and your eyesight (glasses are a must for me with this setting), you may find it useful to use small icons on your taskbar to squeeze in a few more apps. To do this, right click on the taskbar and select Taskbar settings then switch on Use small taskbar buttons. Some of you, especially those using ultrawide monitors, may find it useful to change your Taskbar location on screen to the left or right to regain some vertical real estate. I prefer my taskbar on the right with dual 16:9 aspect ratio monitors. For multi-monitor configurations I also change Show taskbar buttons on to Taskbar where window is open and make sure Combine buttons on other taskbars to Always, hide labels.
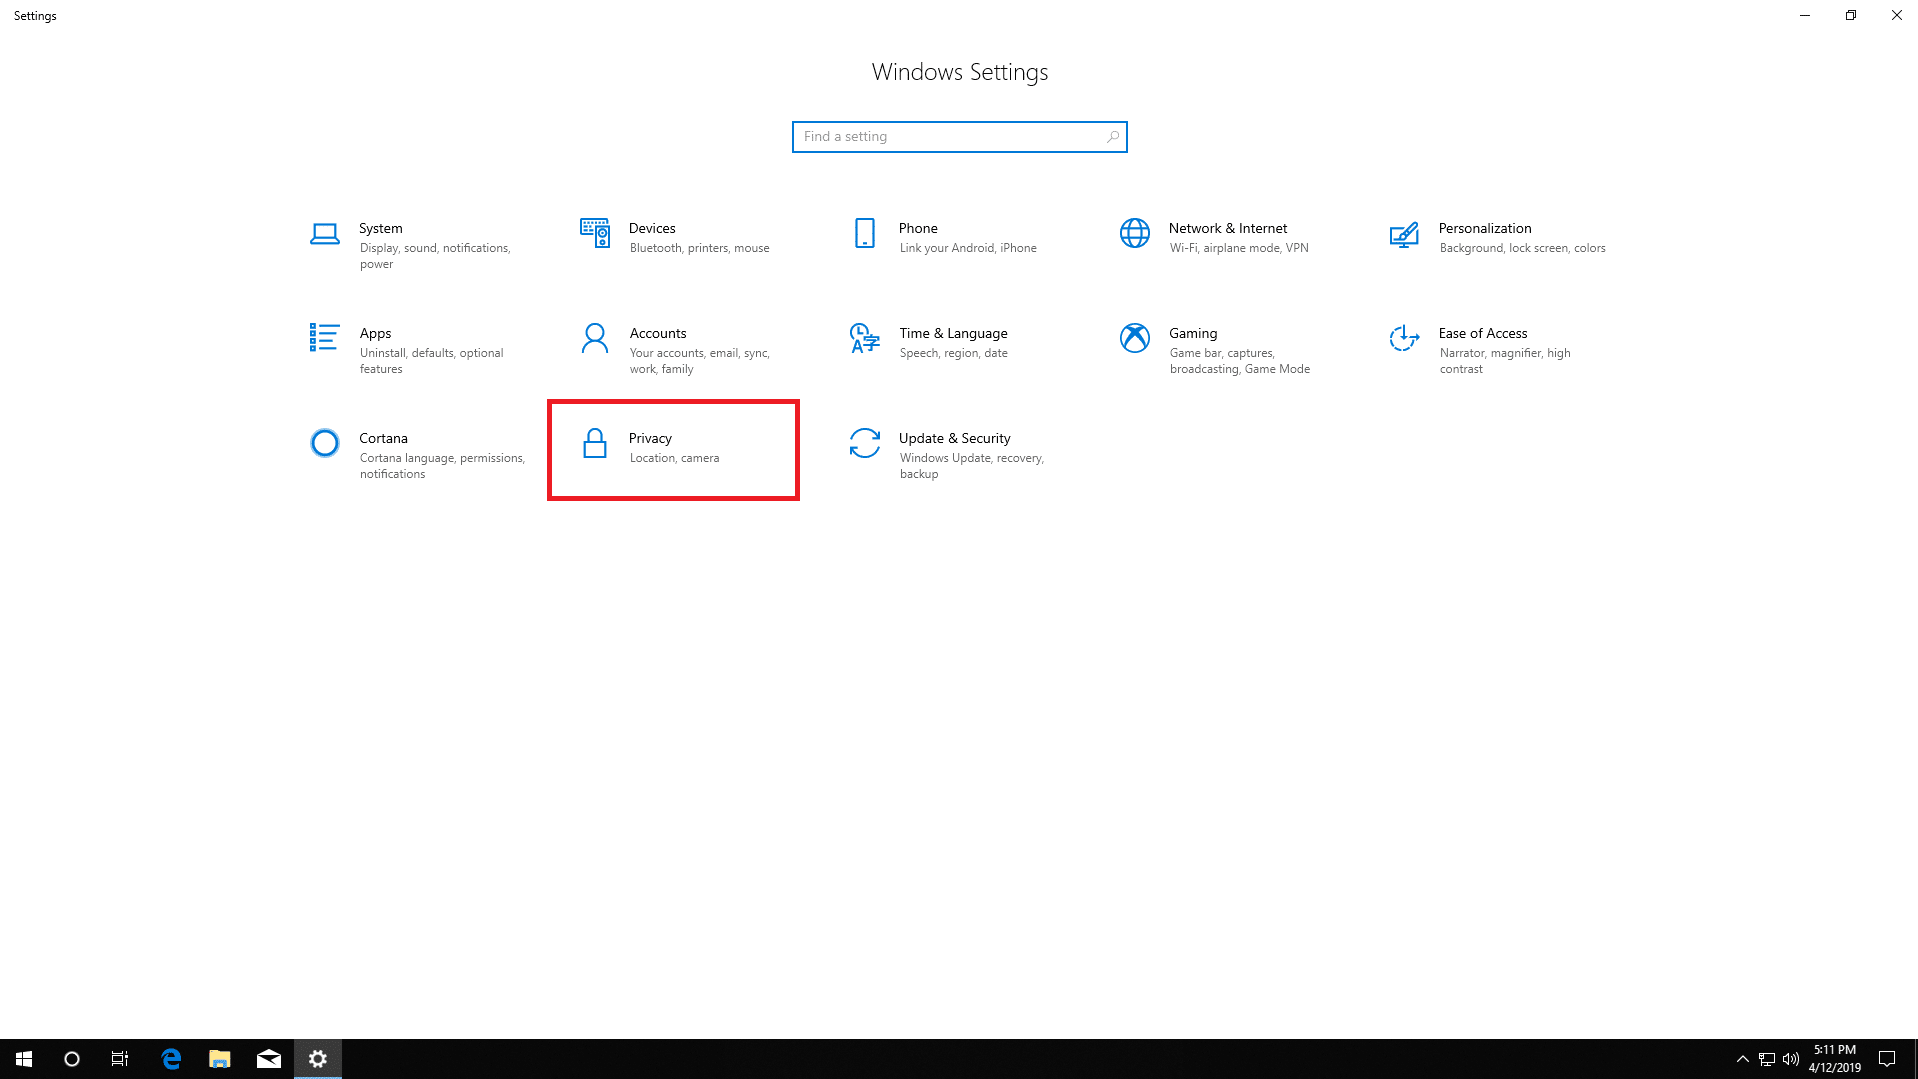
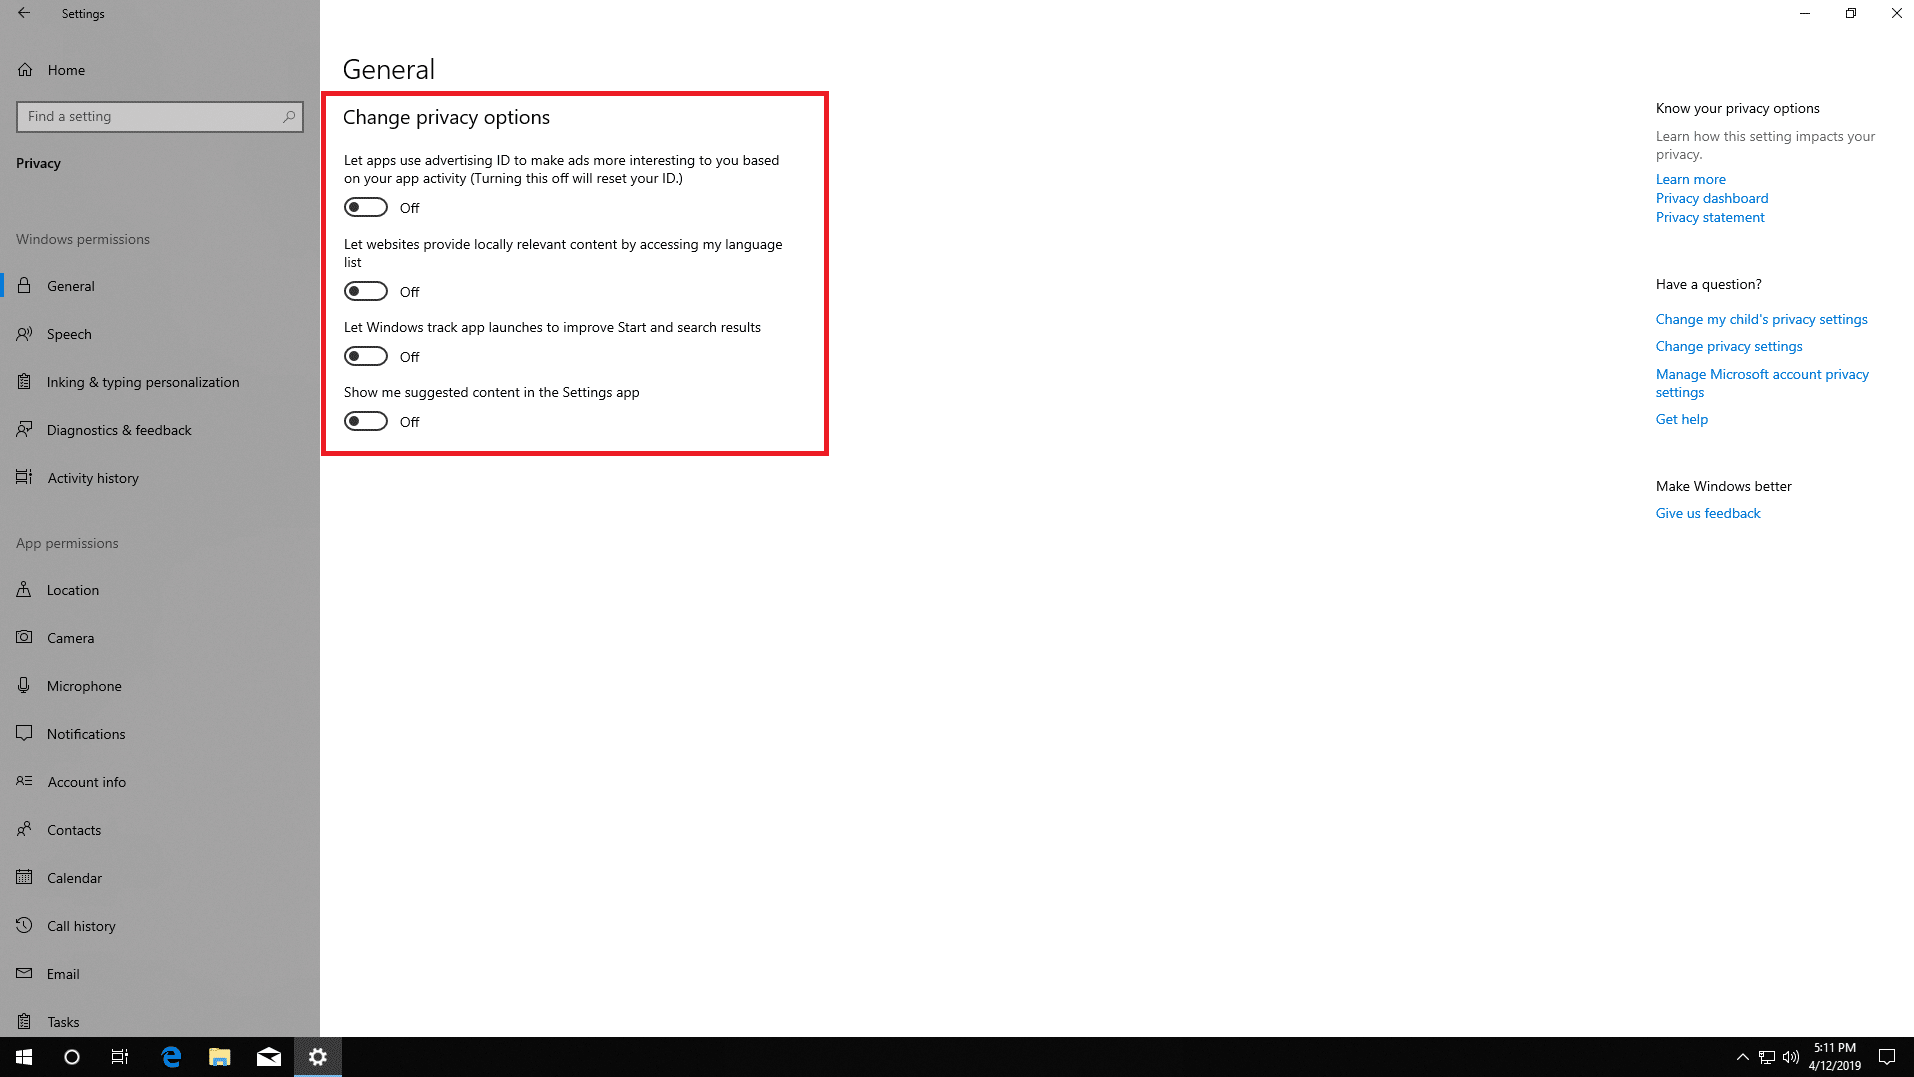
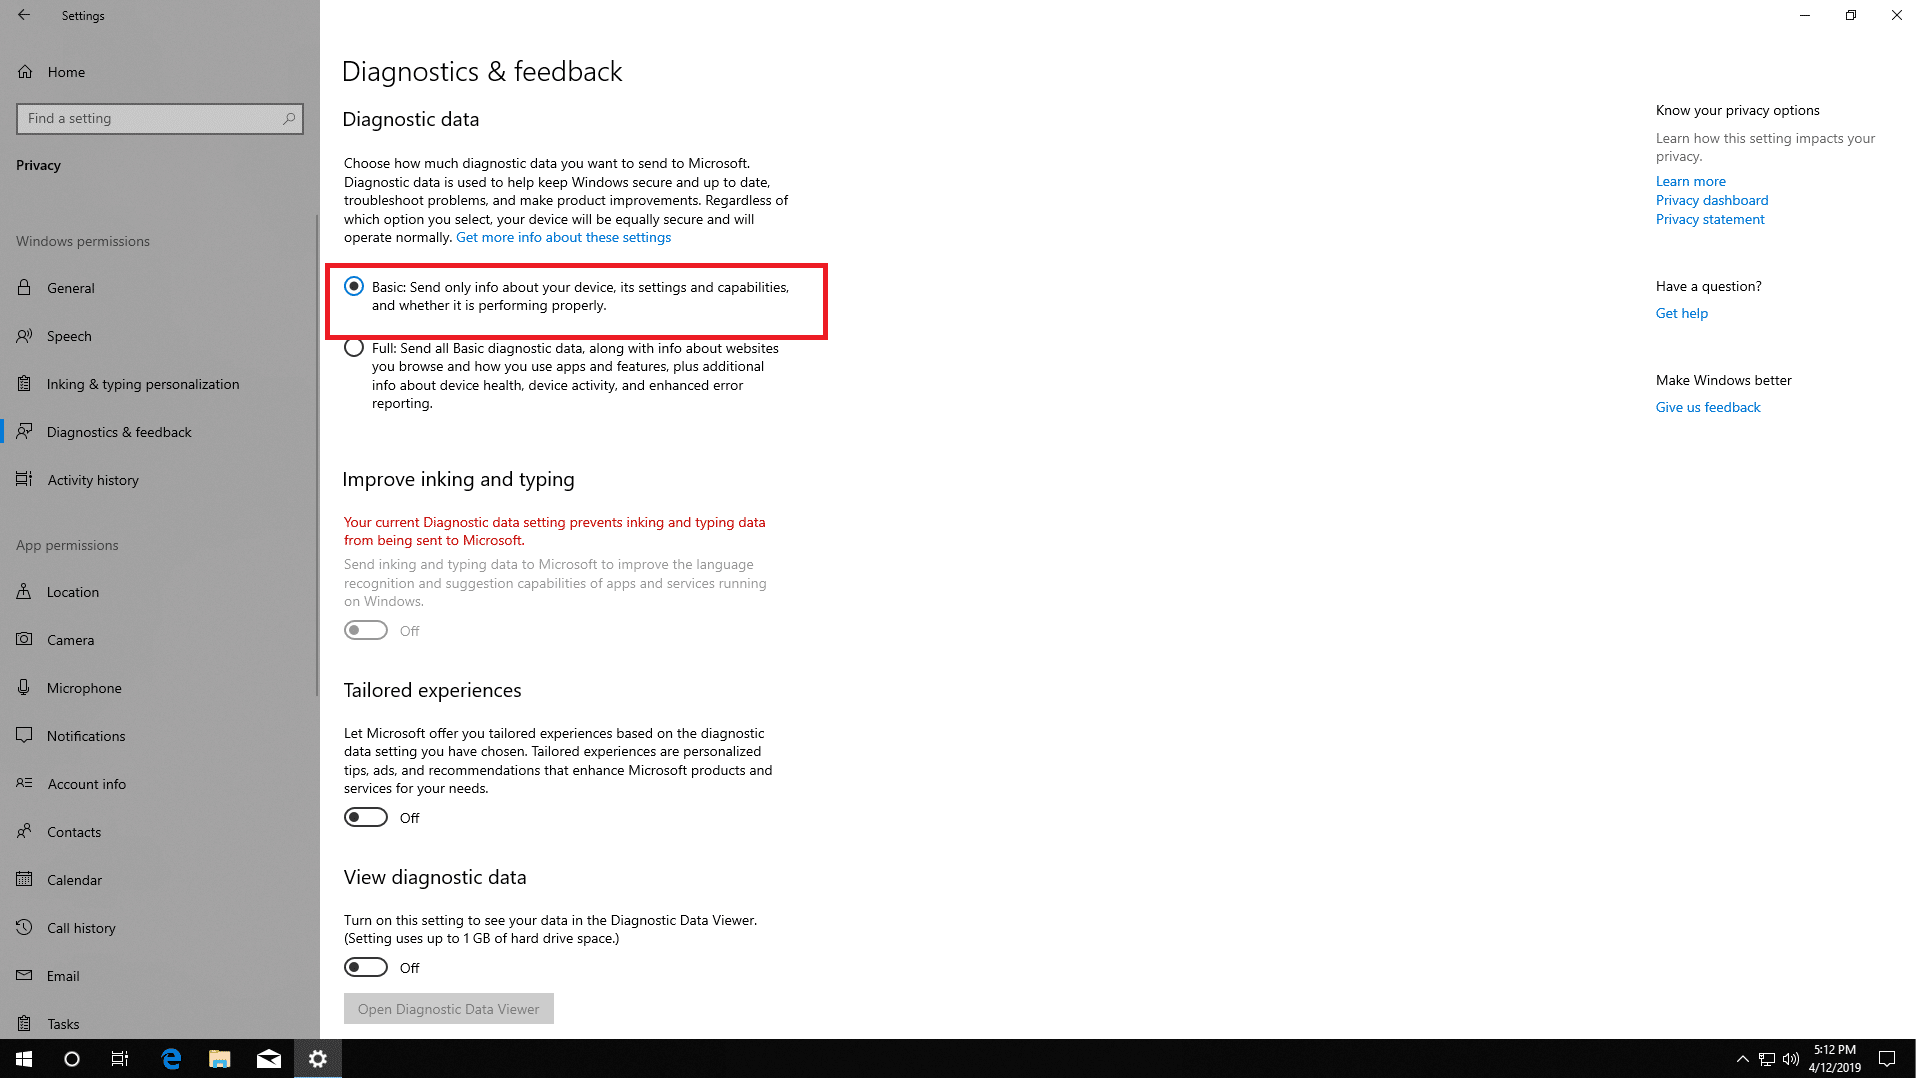
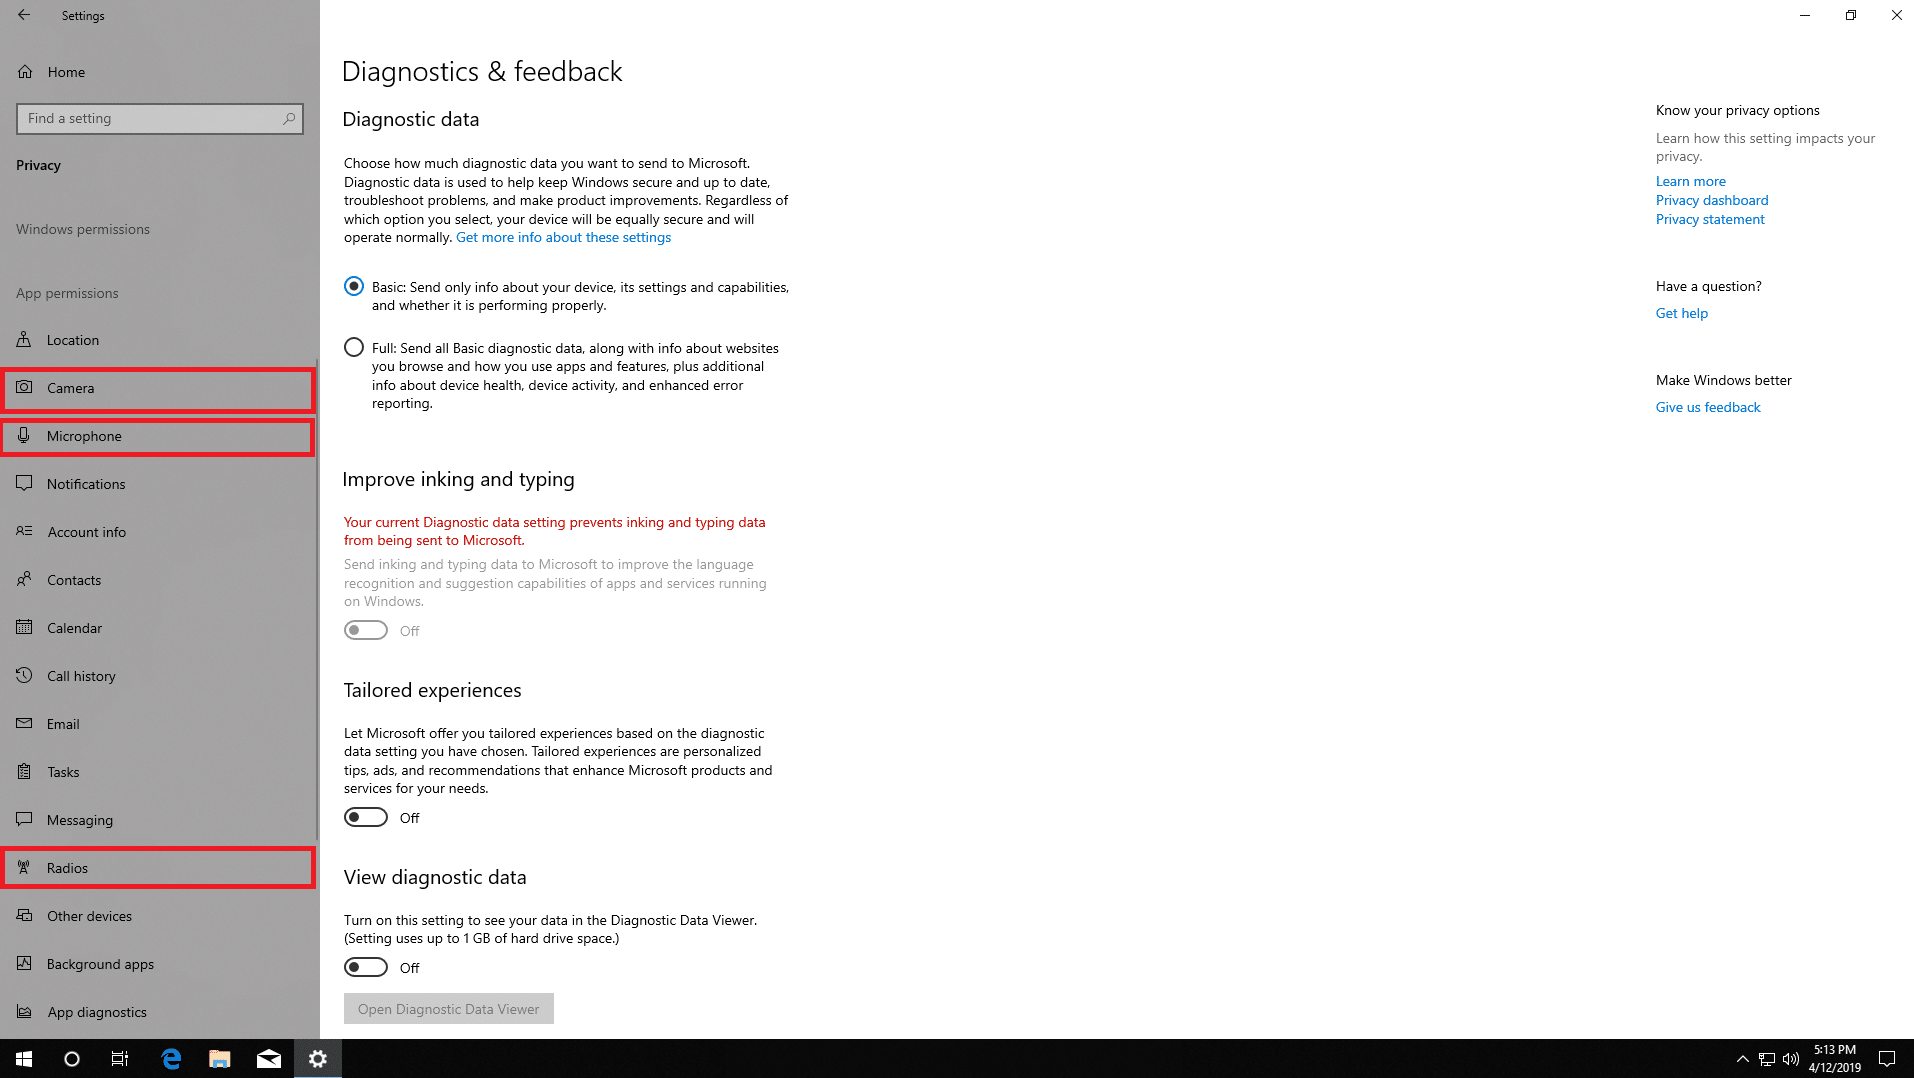
Privacy settings is our next stop. We’ll use the settings icon we enabled in the start menu previously. In settings we’ll select Privacy and in the Diagnostics & Feedback tab we’ll select Basic under Diagnostic data, set Feedback frequency to Never and turn off everything else in this tab. From here on out we’ll turn off everything we do not explicitly need or use. Make sure to pay close attention to the Camera, Microphone, and Radios menus since turning off an app’s access to any of these may stop it from functioning properly. Skype, for example, will not be able to detect your camera or microphone if you disable the permission. If you find an app isn’t working properly, check the permission settings.
With that all taken care of, we can turn to more fun topics like backing up your PC and data, recording gameplay, and streaming.
Check back for new articles on these topics and let us know what you’d like for us to cover in the future.
Have a great one!

